Keto Garlic Bread (With Almond Flour)
This recipe may contain Amazon or other affiliate links. As an Amazon Associate I earn from qualifying purchases.
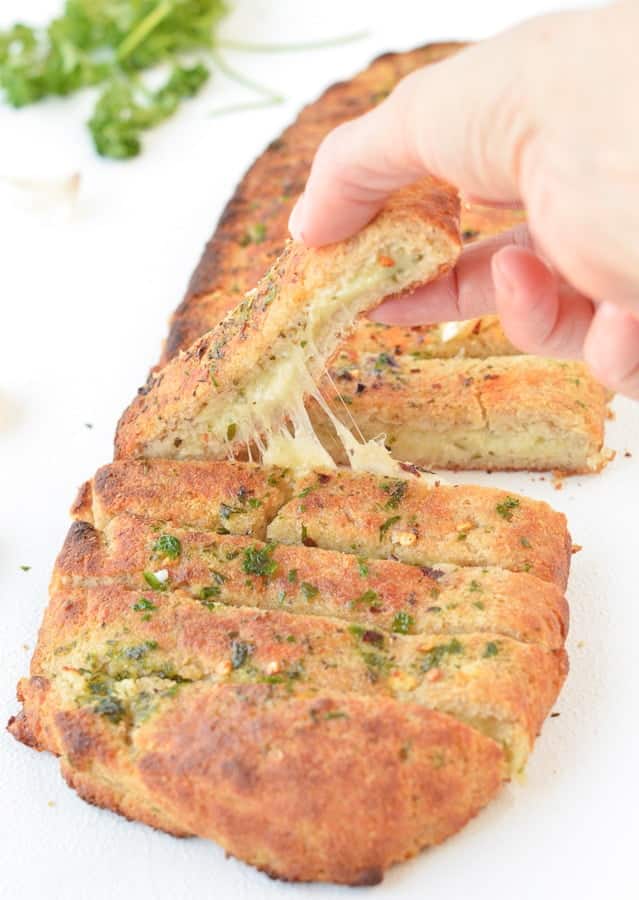
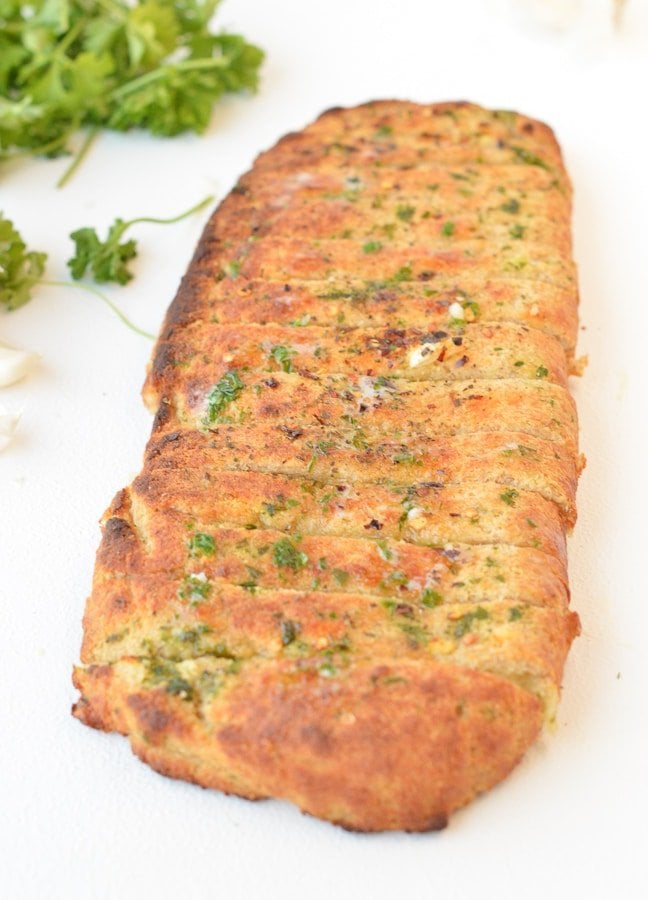
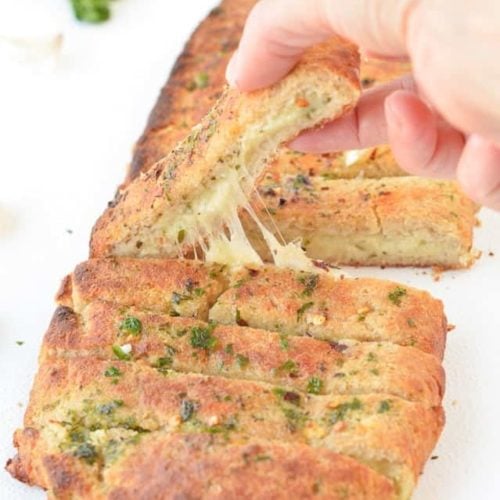
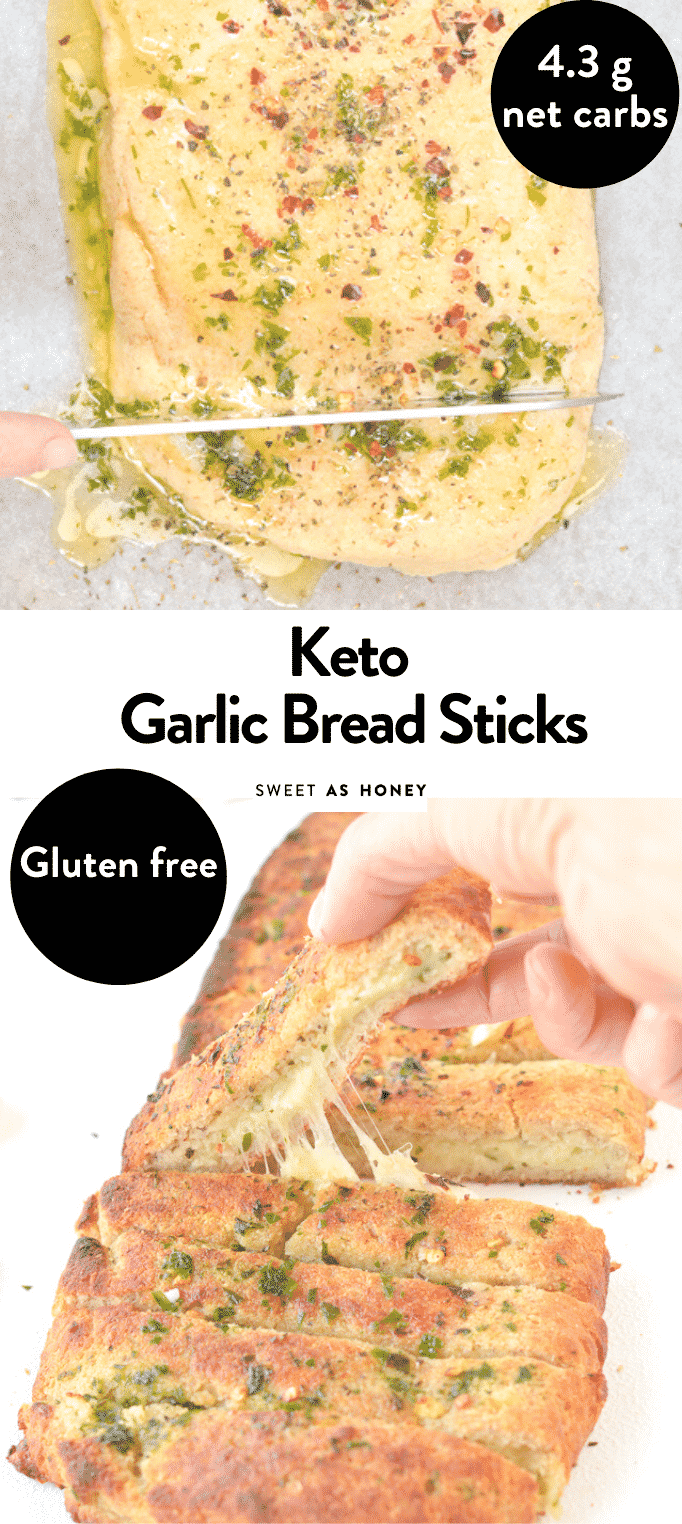
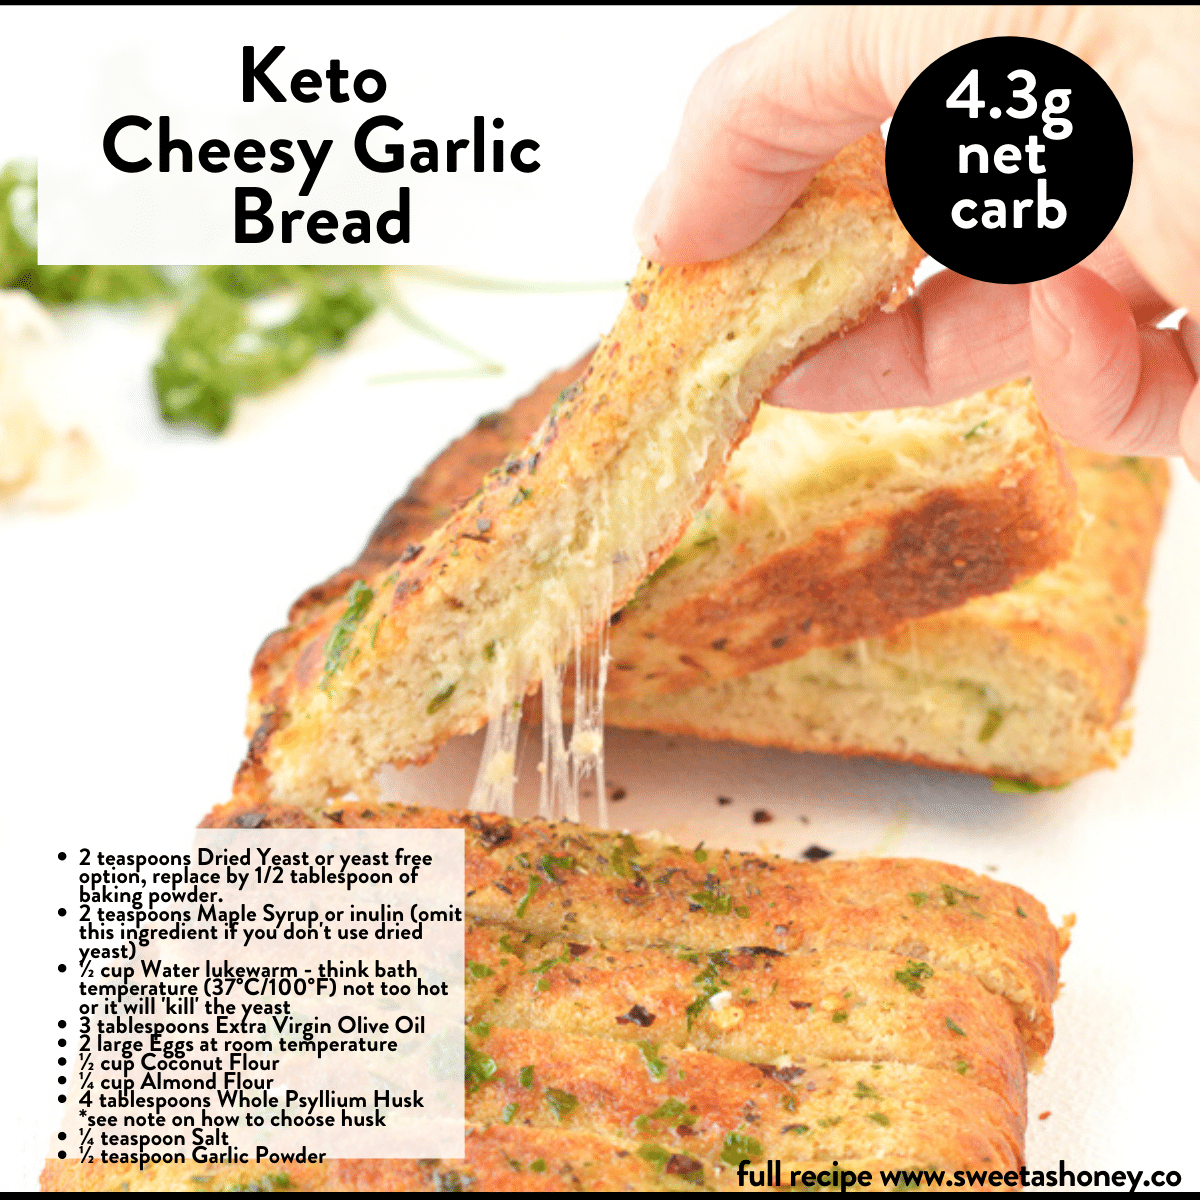
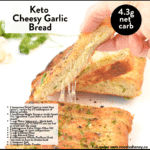
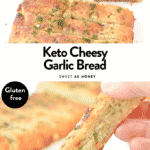
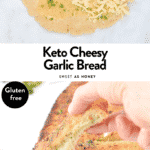
This Keto Garlic Bread is an easy low-carb garlic bread recipe with almond flour.
It’s the best cheese-stuffed garlic bread with only 4.3 grams of net carbs per serving.
Plus, the recipe is gluten-free, a yeast-free option is provided, and it’s ready in less than 30 minutes for a quick side dish or appetizer to share with friends.
Is Classic Garlic Bread Keto?
Classic garlic bread is made with regular all-purpose flour. As a result, it’s very high in carbs, making it not keto-friendly.
Indeed, a portion of classic bread with only 6 grams of net carbs would be about the size of a small battery.
How To Make Keto Garlic Bread
If you miss a classic cheesy garlic bread experience from your regular pizza store, this recipe is the solution!
Behind its fancy look, this keto garlic bread recipe is the easiest you can make at home.
Ingredients
Let’s see what you need to start with this delicious recipe:
- Almond flour and coconut flour – the combo of these two keto flours creates the best garlic bread texture, so don’t swap for another flour or don’t use just one of them. Learn how to choose your keto flour!
- Whole psyllium husk – for real bread with a chewy texture, don’t use Metamucil fiber supplements, this is not the same product, and it is not suitable for baking keto bread. It will turn food dry, purple, or blue.
- Eggs – eggs are low in carbs, making eggs keto-friendly.
- Salt
- Garlic – powdered and fresh.
- Yeast – optional. See the next paragraph about yeast-free garlic bread.
- Melted butter – or olive oil if desired. Learn why butter is keto.
- Spices – this is optional, but seasoning the top of your garlic bread with chili flakes and dried oregano makes all the difference.
- Grated hard cheese – mozzarella is the one that makes the most cheesy strings, but cheddar, Parmesan, or Emmental also are tasty options. Find out how to choose keto-friendly cheese.
Making The Batter
Start the batter by proofing the yeast. It will make the bread crumbs airier and so much more bread-like.
To do so, pour the dried yeast into a mixing bowl and add some maple syrup and lukewarm water.
Maple Syrup is loaded with sugar, but it’s only here to activate and proof the yeast. In lukewarm water, the yeast wakes up and breaks down the sugar into water and carbon dioxide, making bubbles.
Once the yeast has been proofed, combine the dry keto garlic bread ingredients in a large mixing bowl.
Pour the proofed yeast mixture on top of the dry ingredients and combine the batter with a silicone spatula.
When it starts to become too sticky for the spatula, knead the dough with your hands to form a large dough ball.
Rolling The Dough
This is a gluten-free bread dough, which means that the dough is stickier than regular wheat-based dough.
Consequently, to perfectly roll the dough, you must:
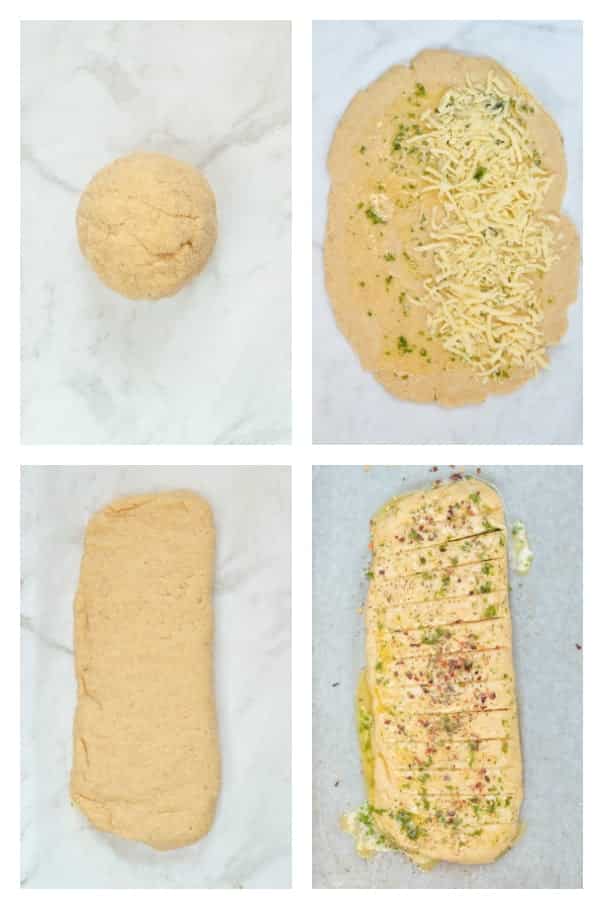
- Use pieces of parchment paper or silicone mats to encase the dough ball before rolling, or the dough will stick to the rolling pin.
- Rub the dough ball with olive oil.
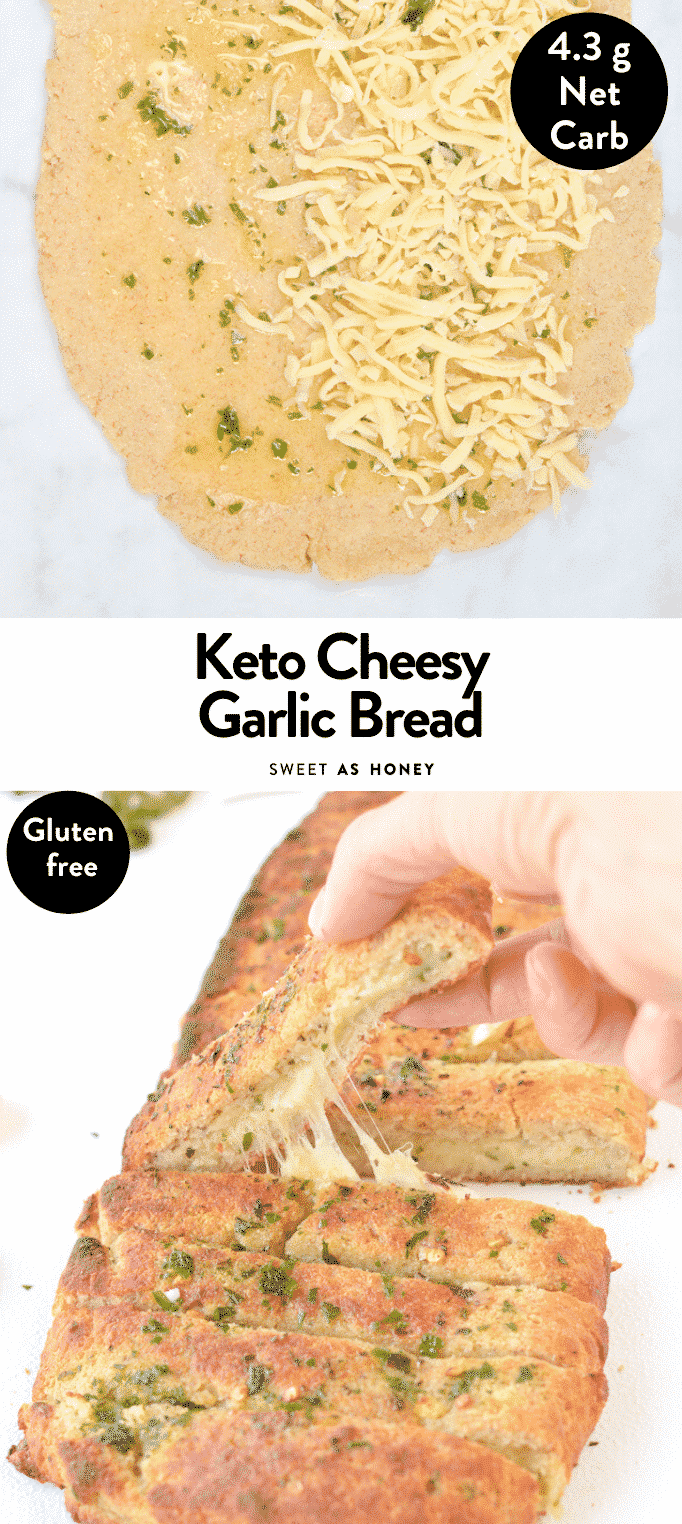
- Brush garlic butter all over the rolled dough but add cheese to half of the dough.
- Fold as a pocket and pinch borders to seal.
Serving The Keto Garlic Bread
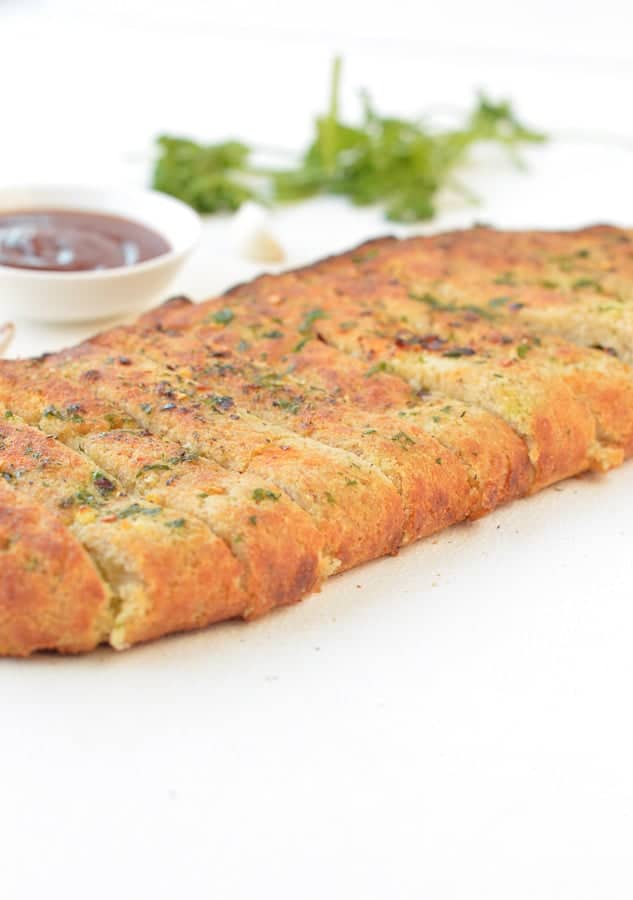
This garlic bread is a delicious side dish to any grilled meat, fish, or vegetables.
But, it is also an amazing party food idea to share with friends.
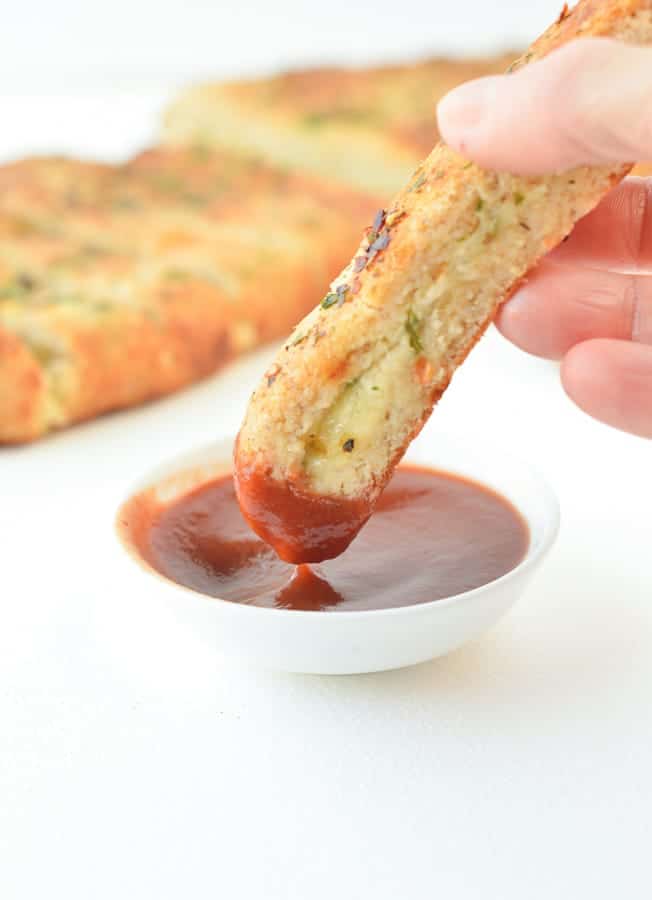
The best keto sauces to dip these keto garlic breadsticks are:
- Homemade tomato ketchup – your old-time favorite ketchup sauce, homemade with no sugar.
- Avocado dip – a simple avocado dip with Mexican flavors.
- Spinach avocado dip – a cold avocado spinach dip, 100% keto and dairy-free.
- Eggplant dip – this healthy roasted eggplant dip is keto-approved, and vegan with tasty Mediterranean flavors.
- Taco Dip Recipe – An easy creamy dip with delicious taco flavors.
Storage Instructions
This recipe is best served hot and eaten immediately.
But you can of course keep it in the fridge once it has been cooked.
Pop your keto garlic bread in the toaster, oven, or air fryer for a few minutes to reheat.
You can also freeze it for up to 3 months and reheat it in your oven for 5 to 10 minutes.
Allergy Swaps
This Keto Garlic Bread is already low in carbs, gluten-free, and grain-free.
But you can make a few swaps if you have more requirements.
- Yeast-free: skip the yeast but use the same amount of water. The bread will be less puffy, but still delicious.
- Coconut-Free: replace the 1/2 cup of coconut flour with an additional 1 cup of almond flour.
- Psyllium Husk: you can replace the psyllium husk with a flaxseed meal, but the texture won’t be as fluffy.
Frequently Asked Questions
This keto garlic bread brings 4.3 grams of net carbs per serving.
This recipe makes 6 generous servings (cut the garlic bread into 6 large slices or 12 smaller ones).
Classic garlic bread is not keto because it typically contains about 30 grams of net carbs per serving which is most likely too much for anyone’s keto macros.
Yes, you can swap the butter for ghee or a low-carb vegan butter alternative.
More Keto Bread Recipes
If you love keto bread, I recommend you try:
Did You Like This Recipe?
Leave a comment below or head to our Facebook page for tips, our Instagram page for inspiration, our Pinterest for saving recipes, and Flipboard to get all the new ones!
Keto Garlic Bread
Ingredients
Proofing yeast
- 2 teaspoons Dried Yeast or yeast free option, replace by 1/2 tablespoon of baking powder.
- 2 teaspoons Maple Syrup or inulin (omit this ingredient if you don't use dried yeast)
- ½ cup Water
Liquid ingredients
- 3 tablespoons Extra Virgin Olive Oil
- 2 large Eggs at room temperature
Dry ingredients
- ½ cup Coconut Flour
- ¼ cup Almond Flour
- 4 tablespoons Whole Psyllium Husk *see note on how to choose husk
- ¼ teaspoon Salt
- ½ teaspoon Garlic Powder
Garlic butter filling
- ¼ cup Unsalted Butter
- 3 Garlic Clove crushed
- 2 tablespoons Fresh Parsley finely chopped
To roll the dough
- 1-2 teaspoons Extra Virgin Olive Oil to rub on your dough an hands
To fill the bread
- ½ cup Grated Mozzarella or cheddar
To season the bread
- ½ teaspoon Chili Flakes optional
- ½ teaspoon Dried Oregano
Instructions
Proofing the yeast – or go to next step for yeast-free recipe
- Preheat oven to 400°F (200°C).
- If using dry yeast, start by proofing the yeast. Combine dried yeast with maple syrup (don't worry, no sugar will be left in the recipe, the yeast will consume all of it!) and lukewarm water (think bath temperature, not boiling). Stir, set aside 10 minutes until foamy.
Make Dough
- In a large mixing bowl, add the dry ingredients together: almond flour, coconut flour, psyllium husk, salt, and garlic powder. If you choose to NOT use dried yeast, add 1/2 tablespoon of baking powder to the dry ingredients.
- Stir well to evenly combine the flours. Set aside.
- Bring back the bowl with the proofed yeast and beat in the eggs and olive oil. If you didn't use yeast, only beat eggs and olive oil with 1/2 cup of the lukewarm water.
- Pour the liquid ingredients into the bowl with the flour. Combine with a spatula at first, then knead the dough with your hands, squeezing the dough to activate the fibers from the husk. The dough will be wet at first, and it takes about 90 seconds to form a dough that can be shaped into a ball. It is slightly sticky, so you can rub your hands with 1/2 teaspoon of olive oil.
- Put the dough ball into the mixing bowl, cover the bowl with a towel, and set it aside at room temperature for 10 minutes.
- In a small mixing bowl, combine the melted butter, crushed garlic, and finely chopped parsley. Set aside.
- Remove towel from the bowl, slightly rub dough ball with 1/2 teaspoon olive oil, then knead dough 30 seconds-1 minute to remove air. Place the dough ball in the center of an oiled piece of parchment paper.
- Press the dough ball roughly into a thick disk, then drizzle 1/2 teaspoon of olive oil on top of the disc. Press again to shape the dough in an oval shape.
- Place a piece of parchment paper on top of the dough and roll to extend the oval shape into a thinner oval disc.
- Peel off the top piece of parchment paper and using a pastry brush/or spoon, spread half the amount of garlic butter all over the rolled dough.
- Top with grated mozzarella (or cheddar) on half of the dough.
- Fold the dough into a pocket to encase the cheese and seal the edges.
- Using a sharp knife, make marks all over the bread without cutting them fully.
- Brush the rest of the garlic butter on top of the bread and season with chili flakes and dried oregano if desired.
- Bake the garlic bread at 200°C (400°F) for 15–20 minutes or until golden on top and crust forms.
- Cut into pieces following the marks you made before and serve immediately with a dipping sauce of your choice or as a side dish.
Notes
Tools
Getting Started What Is Keto? Macro Calculator Sweetener Converter Intermittent Fasting Keto Fruits Keto Vegetables Keto Flours Fighting Keto Flu Healthy SweetenersWant My Kitchen Equipment?
Nutrition
Posted In:
Category:
BreadDisclaimer
The recipes, instructions, and articles on this website should not be taken or used as medical advice. You must consult with your doctor before starting on a keto or low-carb diet. The nutritional data provided on Sweetashoney is to be used as indicative only.
The nutrition data is calculated using WP Recipe Maker. Net Carbs is calculated by removing the fiber and some sweeteners from the total Carbohydrates. As an example, a recipe with 10 grams of Carbs per 100 grams that contains 3 grams of erythritol and 5 grams of fiber will have a net carbs content of 2 grams. Some sweeteners are excluded because they are not metabolized.
You should always calculate the nutritional data yourself instead of relying on Sweetashoney's data. Sweetashoney and its recipes and articles are not intended to cure, prevent, diagnose, or treat any disease. Sweetashoney cannot be liable for adverse reactions or any other outcome resulting from the use of recipes or advice found on the Website.




Share this post!
If you enjoyed this post, share it with your close ones!
Leave a comment
I’ve made this bread recipe several times and love it and i”m thinking of trying it as pizza crust – i found your vegan pizza crust which is similar, but I am not vegan and I feel like I already know this recipe – ideas?
The low carb pizza crust as a crispier base but both will work very well as a pizza base. It’s up to you to experiment with the vegan version.
Oh, yes, I see now that the pizza crust is pre-baked. I’ve always avoided pre-baked pizza crusts, because thats not how pizzerias do it. Plus I prefer a softer crust. Its even more important now that I use violife cheese, which is slower to melt. I’m sticking with this known and loved recipe!
Thanks for your response!
(now that i think about it, my gluten free pizza crust was based on a focaccia recipe – again from a book which had a crisp, pre-baked pizza crust, but i preferred the texture of the focaccia!)
I’ve made this recipe twice – with yeast once and baking powder another time. It is really so good. My friends said scrumptious and delicious. I say….just grab a slice and enjoy.
Personally I found it didn’t taste coconutty as another reviewer mentioned.
This looks so good but unfortunately we do not like the taste of coconut do you think this would still turn out using all almond flour or is there an alternative to the coconut flour?
I didn’t try some thing else, but usually more almond flour works, a good ratio is for 1 tbps. coconut flour you need 3-4 tbps almond flour. I hope it helps and works well this way too
I’ve made this bread twice, absolutely amazing!!!!
Thanks Carine 🙂
Love the recipes but would appreciate the number of servings per recipe —seems to be missing on most of your delicious recipes -ex 10 pieces – 1 piece per serving
Serving size always appears before the list of ingredients
Hola, me encantan todas tus recetas, pero quisiera saber si puedo sustituir la mantequilla por guee?
Yes, sure you can use ghee in this recipe instead of butter
This recipe looks delicious. Excited about trying this recipe. Thank you for sharing!
Never found the note for picking out the whole psyllium husk….
My favorite brand is Now Food whole husk
Delicious! I put parmesan and mozzarella in mine and shredded parmesan on the top. I sprinkled it with himalayan pink salt and it really brought out the flavor!
Hi Carine! Can we replace psyllium husk with anything? Thanks!
Sorry you need husk to achieve this bread texture. Enjoy! XOXO Carine
This is the second recipe from your site I have tried and it’s also very good. I added extra garlic, sprinkled sea salt on top and didn’t bother with dip. Kids love it too!
Hi, can’t wait to try your recipe! Will psyllium husk powder be ok instead of the whole husk?
You can but the texture might be drier and some powder turns bread blue in color. Also, make sure you don’t buy psyllium husk supplement like metamucil, this is not working in keto baking. Enjoy the recipe, XOXO Carine
I can’t wait to make this cheesy garlic bread, looks so yummy.
I just love love ur keto breat dear.
Thanks SO much ! Enjoy the keto recipes on the blog, XOXO Carine
Hello – is the a substitute for the pysillium husk?
I didn’t try something else, it is what makes the dough hold together and elastic. Maybe flaxmeal will work but the texture won’t be as soft and the dough might be fragile too. XOXO Carine
This is amazing, as every recipe that I have tried from your site
Thanks Carine
Thanks SO much ! Always a pleasure to read such beautiful comment in the morning. I can’t wait to see what you are cooking next! Take care, Carine
In the oven right now. Excited to try. Question… How well do these store? Dont plan on keeping them long… Curious if they can be left out for a day or two on the counter covered if we dont finish them all. 🙂 Decided on a late night snack 🙂
I kept some on the counter 24 hours or in the fridge and then rewarm in the oven 10 minutes at 150C. Enjoy the treat, XOXO Carine
This is amazing just made it and ate it over dinner just prefect I make a lot of your recipes they never fail
Thanks carrine
Thanks for the wonderful feedback! I do my best to test and re-test my recipes many times to ensure they work so I am happy you enjoy that. I can’t wait to see your next comment, XOXO Carine.
is there an egg free option for this recipe?
No sorry I didn’t try the recipe egg free. Enjoy the blog recipes, XOXO Carine.
Looks so yummy and I’m making it tonight to go with our bbq sausages and veges. Only one problem – there is no oven temperature given so I’m going to go with 180degC and hope for the best!
So sorry for that, I baked the bread at 200C (400F) until golden on to and crusty. Enjoy the recipe. XOXO Carine