9 Keto Baking Tips to Make Keto Baking Easy
This recipe may contain Amazon or other affiliate links. As an Amazon Associate I earn from qualifying purchases.
You might think that Keto Baking is complicated. Yes, it is not as straightforward as regular baking, but it doesn’t have to be hard!
I have years of keto baking experience on top of decades of regular baking, so I can tell you all about it and how to not make the same mistakes I once made!
So read my 9 low-carb baking tips below to become a better keto baker and never fail your keto desserts and breakfast!
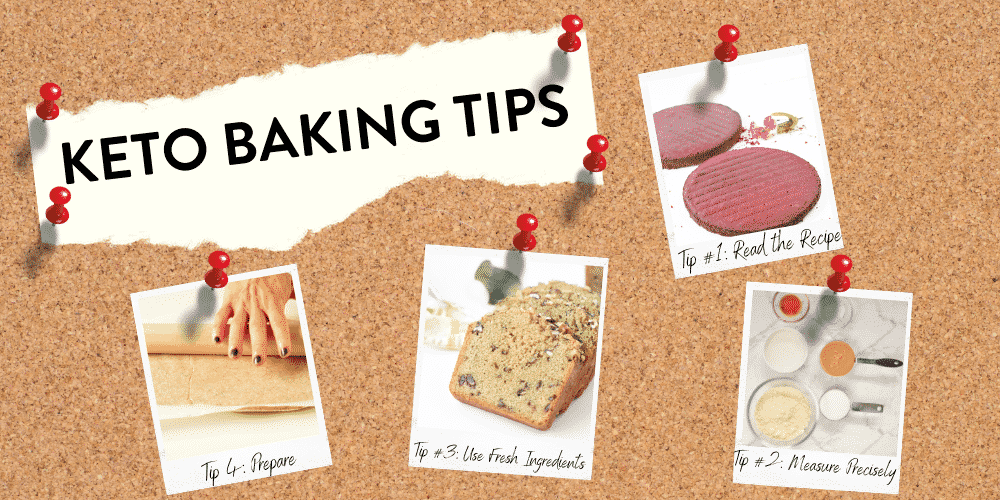
Keto Baking Tip #1: Read the recipe and prepare the ingredients
This is the first common mistake in baking on a keto diet. It affects keto baking, particularly because of its sensitivity to ingredients, cooling time, and temperature.
For example, keto flours cannot be easily swapped in a recipe. Their chemistry is so different (fiber, protein, fat) that there is no way you can swap one cup of almond flour for one cup of coconut flour.
They are completely different in texture, moisture, fiber, and taste.
So, reading the recipe and preparing the ingredients before starting will avoid missing ingredients halfway through the recipe that you will end up replacing and sabotaging your results.
Also, another important thing in successful keto baking is equipment and waiting time.
Unfortunately, you cannot skip cooling time or skip that piece of parchment paper to roll a dough that will avoid a messy, sticky unrollable dough.
Remember that any step you skip, replace or choose not to follow will always impact taste and texture.
In the keto baking world that uses complex chemistry, you can’t afford these changes even if you are already an expert at this!
Summary: Always read the recipe entirely, gather the ingredients, and start the recipe at the right time of the day. Knowing what to expect in terms of ingredient quantity, equipment, and cooling time will be the first key to success!
Keto Baking Tip #2: Measure with precision
Measuring Solids
One of the common mistakes in keto baking is to measure dry ingredients approximately. I will not say this enough. Baking is chemistry!
It means that combining the exact ratios of liquid and solid is the key to a perfect texture in your treats.
Therefore, I highly recommend weighing your solids (oz or grams) using a kitchen scale instead of measuring volumes.
How to weigh ingredients
Make sure to use a kitchen scale and place a medium-size baking bowl on it. Press the tare button to cancel the weight of the bowl. Make sure the scale shows 0oz or 0g.
Then, add the flour or sweetener into the bowl using tablespoons. Stop when the scale shows the weight of ingredients needed for the recipe.
How to measure solid in cups
Cups are designed to measure volume, so I do not recommend measuring solids in cups since every solid has a different density. Density can also vary for flour depending on how fine or coarse it is.
A different density means that a cup full of flour will weigh more for a high-density flour and much less for a low-density flour.
Since what matters for baking is the amount of flour, cups are not accurate enough.
As a general keto-baking rule, you can measure sweeteners in cups, but when it comes to flours, it makes a significant difference if the method you used to fill the cup is not right.
This is even more true for cakes, bread, and flatbread that use a large number of keto flours and sometimes a blend of many keto flours.
Scoop and sweep
The most popular technique is to scoop and sweep the cup. It means to dip the cup into the flour packaging and then level up with a knife.
That is my favorite method. It is simple and works well if you make sure that the cup’s bottom is well filled.
It can be tricky to insert a measuring cup into a small flour packaging, and sometimes you will not scoop flour very well, leaving voids at the bottom.
It is always best to place the flour in a large container from which it is easy to insert the cup and scoop.
Do not use a tall narrow container, or you will lose precision and struggle to go in and out with the filled cup.
Packed level method
Some recipes recommend the packed level method. If so, follow the method that the recipe tells you to follow.
This method consists of filling the cup with a tablespoon of solids and packing the solid after each addition and repeating until it reaches the top of the cup.
I never use this method in my keto baking recipes since it adds way more solids per cup than the previous method.
This method packs the ingredients down, and you could be left with up to 40% more than what is needed in the recipe!
If the recipe calls for more than 1 cup and you measure the flour that way, it will increase the measurement mistakes, resulting in a dry baked good!
Remember that when it comes to keto flours, a scale is your friend as keto flours have complex chemistry, a remarkably high amount of fiber, fat, etc.
A tiny difference in weight will make the biggest difference in taste and texture.
Summary: measure your flours in weight for perfect results. If you do not have a scale, learn to use your cups right. Always fill cups using the method mentioned in the recipe. If a recipe does not tell you the method, always use the “scoop and sweep” method.
Measuring Liquids
Use a trustable US-size cup to measure liquid. US cups fit 237ml in volume, while cups imported from other countries can be larger or smaller.
For example, in New Zealand, 1 cup is 250ml, while in Japan, it is as low as 180ml.
Summary: buy cups from trustable brands and check their volume to be US standards cups.
Keto Baking Tip #3: Use fresh ingredients
Keto baking requires different flours, sweeteners, and fat.
But as a rule, remember always to use fresh dry ingredients.
For example, coconut flour contains 35% fiber (keep in mind that wheat has only 4%!), so if you store your coconut flour for a while in a non-sealed container or leave it for too long at room temperature, it will absorb moisture.
This will result in lumps and a change in the flour chemistry, becoming less absorbent. The same happens with baking powder.
The raising agent lasts 6 to 8 months if stored in a dry place. If your container is old or has been in contact with moisture, the baking powder absorbs moisture and becomes inactive.
Summary: use fresh ingredients and store them according to the manufacturer’s packaging for long-lasting.
Keto Baking Tip #4: Measure the ingredients before starting
How many times did you start a recipe and realized halfway that you are missing an ingredient? Or do you see at the end that you skipped an ingredient?
Keto baking is very sensitive to the quality of ingredients. You cannot swap an ingredient for another without impacting the result.
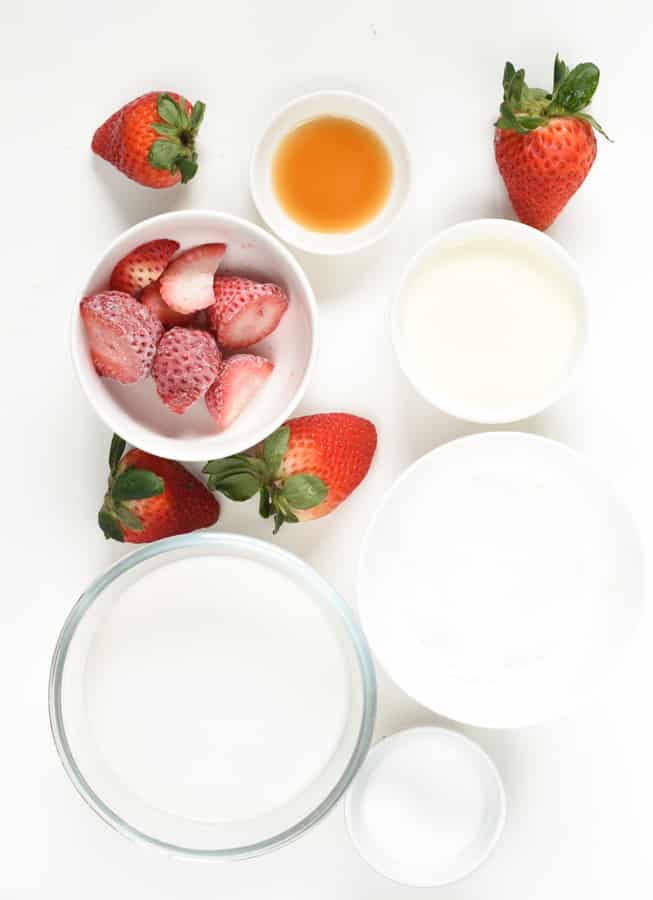
So, to ensure your cake or bread comes out perfect, always measure and prepare all the ingredients in individual bowls before starting the recipe.
Just like in a movie, a well-written ingredient list should be in its order of appearance.
So, if you are new to baking, make sure you organize your pre-measured ingredients on your benchtop in the order you will add them to your mixing bowl.
This is so much easier to follow a recipe if your ingredients are readily accessible and measured.
Summary: Organize your bench with all the ingredients pre-measured in individual containers.
Keto Baking Tip #5: Use ingredients at the right temperature
The temperature of ingredients makes an enormous difference in baking.
It matters even more in keto baking since you are using many eggs and fat that are solid under 23°C/73°F.
First, let us talk about eggs.
Cold eggs, straight out from the fridge, add a strong egg flavor to pancakes and bread.
If they meet coconut oil, they will form oil lumps as coconut oil returns to its solid state under 23°C/73°F.
To avoid this issue, always bring the eggs to room temperature before baking.
You can do this by immersing your eggs in lukewarm water for 15 minutes or taking your eggs out of the fridge for 4 hours or overnight before starting a recipe.
Next, another ingredient that should be at room temperature is melted butter or melted oil. If you bring hot liquid in contact with eggs, this can cook them and form egg lumps in the batter.
Liquids hotter than 50°C/120°F will destroy the yeast cells and will make them useless.
Finally, some keto recipes using whole psyllium husk or flax meal require lukewarm water (>37°C/>100°F) to activate their fibers.
This is crucial for recipe success as cold water will not bring any elasticity to the dough and result in a very moist, uncooked bread or wrap.
Summary: Ingredients need to be at the right temperature when you use them
Keto Baking Tip #6: Use precise oven temperature
It is important to remember that a toaster oven is not made to bake cakes or bread, keto or not.
You must use a standard oven, in regular mode or convection mode, that has been preheated for at least 15 minutes so that the temperature is consistent all over the oven chamber.
If you had issues baking keto bread or cakes before, I recommend checking your oven temperature with a thermometer. It is a wonderful way to see if your oven thermostat is accurate.
Unless your oven is brand new, most oven temperatures are not well calibrated.
If your oven is 10°F lower than recommended by the recipe, a bread can come out very moist, gooey, and never bake inside even after spending way more time in the oven.
Finally, never open the oven door while baking. This would bring a temperature shock to your recipe, and it will deplete cakes and bread instantly.
Always wait 10 minutes before the end of the recommended cooking time to open your oven slightly and test the baking process using a skewer inserted in the middle of the cake.
Summary: Preheat, check your oven temperature, and do not open the door too early.
Keto Baking Tip #7: Preparing the dough
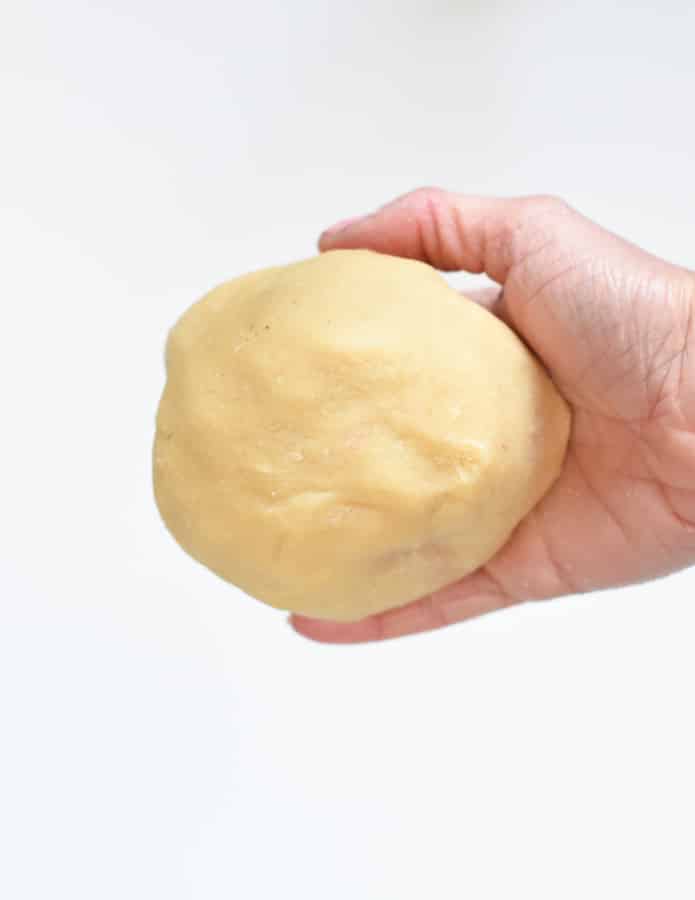
Some recipes require shaping the dough with your hands in a specific shape or watching out for the kneading time.
All these processes impact how the recipe will raise and texture. For example, egg-free keto bread recipes often require leaving the round loaf in the middle of the pan.
This process will impact how the bread raises when baked in the oven. If you flatten the dough into a block, it will end up moist, flat, and overly dense.
Some recipes for pizza, bread, and flatbreads are very precise on kneading time or resting time before using the dough.
If you over-knead a keto dough, it can result in a dry, crumbly dough, and on the opposite, a too-short kneading time can result in a bad repartition of fiber in the dough resulting in highly moist bread after baking.
Summary: the shape of the dough and the kneading time are important.
Keto Baking Tip #8: Cooling down
How many times did you get a beautifully raised cake or bread that suddenly deflates when out of the oven?
Big temperature drops can ruin your baking. Ensure you always leave your baked good in the pan for 5 minutes before transferring onto a cooling rack.
Also, if your house is very cold (<19°C/66°F), place your baked goods in a room that is at room temperature (23°C/73°F) to avoid a rapid change of temperature that flattens cakes and bread.
Summary: cooling down is just as important as the baking itself.
Keto Baking Tip #9: Adjusting recipes for high altitude
Baking is sensitive to altitude. If you live at a high altitude, 3,000 feet or more above sea level, your baking recipe should be slightly adapted to ensure your baked goods rise evenly or cook properly.
At high altitude, air pressure is lower, which impacts:
- baking time- you need to increase the baking time to avoid dense, dry cakes
- raising of bread and cakes – air bubbles in the batter rise faster, often resulting in holes in the center of bread or cakes
Some of the adjustments you can make are:
- Increase oven temperature by 25°F.
- Decrease the amount of baking powder by half.
- Double-grease baking pans or line the pan with greased parchment paper.
- Fill the pan up to 1/2 of its depth, not up to 2/3, as mostly recommended for muffins. This will prevent muffins or cupcakes from overflowing.
- Adjust liquid by adding between 2 and 4 tablespoons of liquid – water, almond milk.
Conclusion
I hope these tips will help you make the best recipes!
If you have any more tips or use other secrets, don’t hesitate to write them down in the comments below!
Bonus: Beginner Keto Baking Recipes
Now that you have new skills, why don’t you try a few of these very easy Keto Baking recipes?
Posted In:
Disclaimer
The recipes, instructions, and articles on this website should not be taken or used as medical advice. The nutritional data provided on Sweetashoney is to be used as indicative only. The nutrition data is calculated using WP Recipe Maker. Net Carbs is calculated by removing the fiber and some sweeteners from the total Carbohydrates.
You should always calculate the nutritional data yourself instead of relying on Sweetashoney's data. Sweetashoney and its recipes and articles are not intended to cure, prevent, diagnose, or treat any disease. Sweetashoney cannot be liable for adverse reactions or any other outcome resulting from the use of recipes or advice found on the Website.




Share this post!
If you enjoyed this post, share it with your close ones!
Leave a comment
how about some HIGH ALTITUDE KETO RECIPES? for people who can’t eat a normal diet with regular average ingredients, there are very important changes in the Recipes above 3000 feet, from 3000 to 6000 feet, and then over 6000 feet. So much money is wasted and ingredients for people that live at 7000 feeto and I simply cannot afford to waste thousands of dollars worth of ingredients every year trying to cook on a keto diet at high altitude. Is there someway you can help on this? Food prices have gotten so expensive and just the prices of almond flour and coconut flour have doubled since the country changed three years ago. Please do an article on high altitude keto cooking and please add some recipes if you can. I made a peach cobbler last night and the topping was absolutely horrible because I live at 7000 feet and I’m sure the recipe would’ve been great if I lived below 3000 feet . Thanks again.
This is a great question, and unfortunately, it’s extremely complicated. The lower air pressure means you need to cook hotter and leave the food in the oven for less time.
It’s also necessary to reduce baking soda and baking powder quantities while increasing liquids.
But how much you do all that depends on the recipe and the altitude.
This article covers a lot of tips quite well: https://www.foodnetwork.com/recipes/packages/baking-guide/high-altitude-baking-tips
Sensible tips. Thanks 🙂
Since I am new to Keto baking your information was very helpful.I didn’t realize the importance of a scale and will get one today.I love your recipes and have used many but my next big step is bread.The store Keto bread is terrible and hope to find a recipe that has texture and flavor.
Thanks for following my recipes! I would recommend you try my almond flour bread recipe, it is an easy and tasty one to starts. ENjoy