4-Ingredient Keto Coconut Flour Pie Crust
This recipe may contain Amazon or other affiliate links. As an Amazon Associate I earn from qualifying purchases.
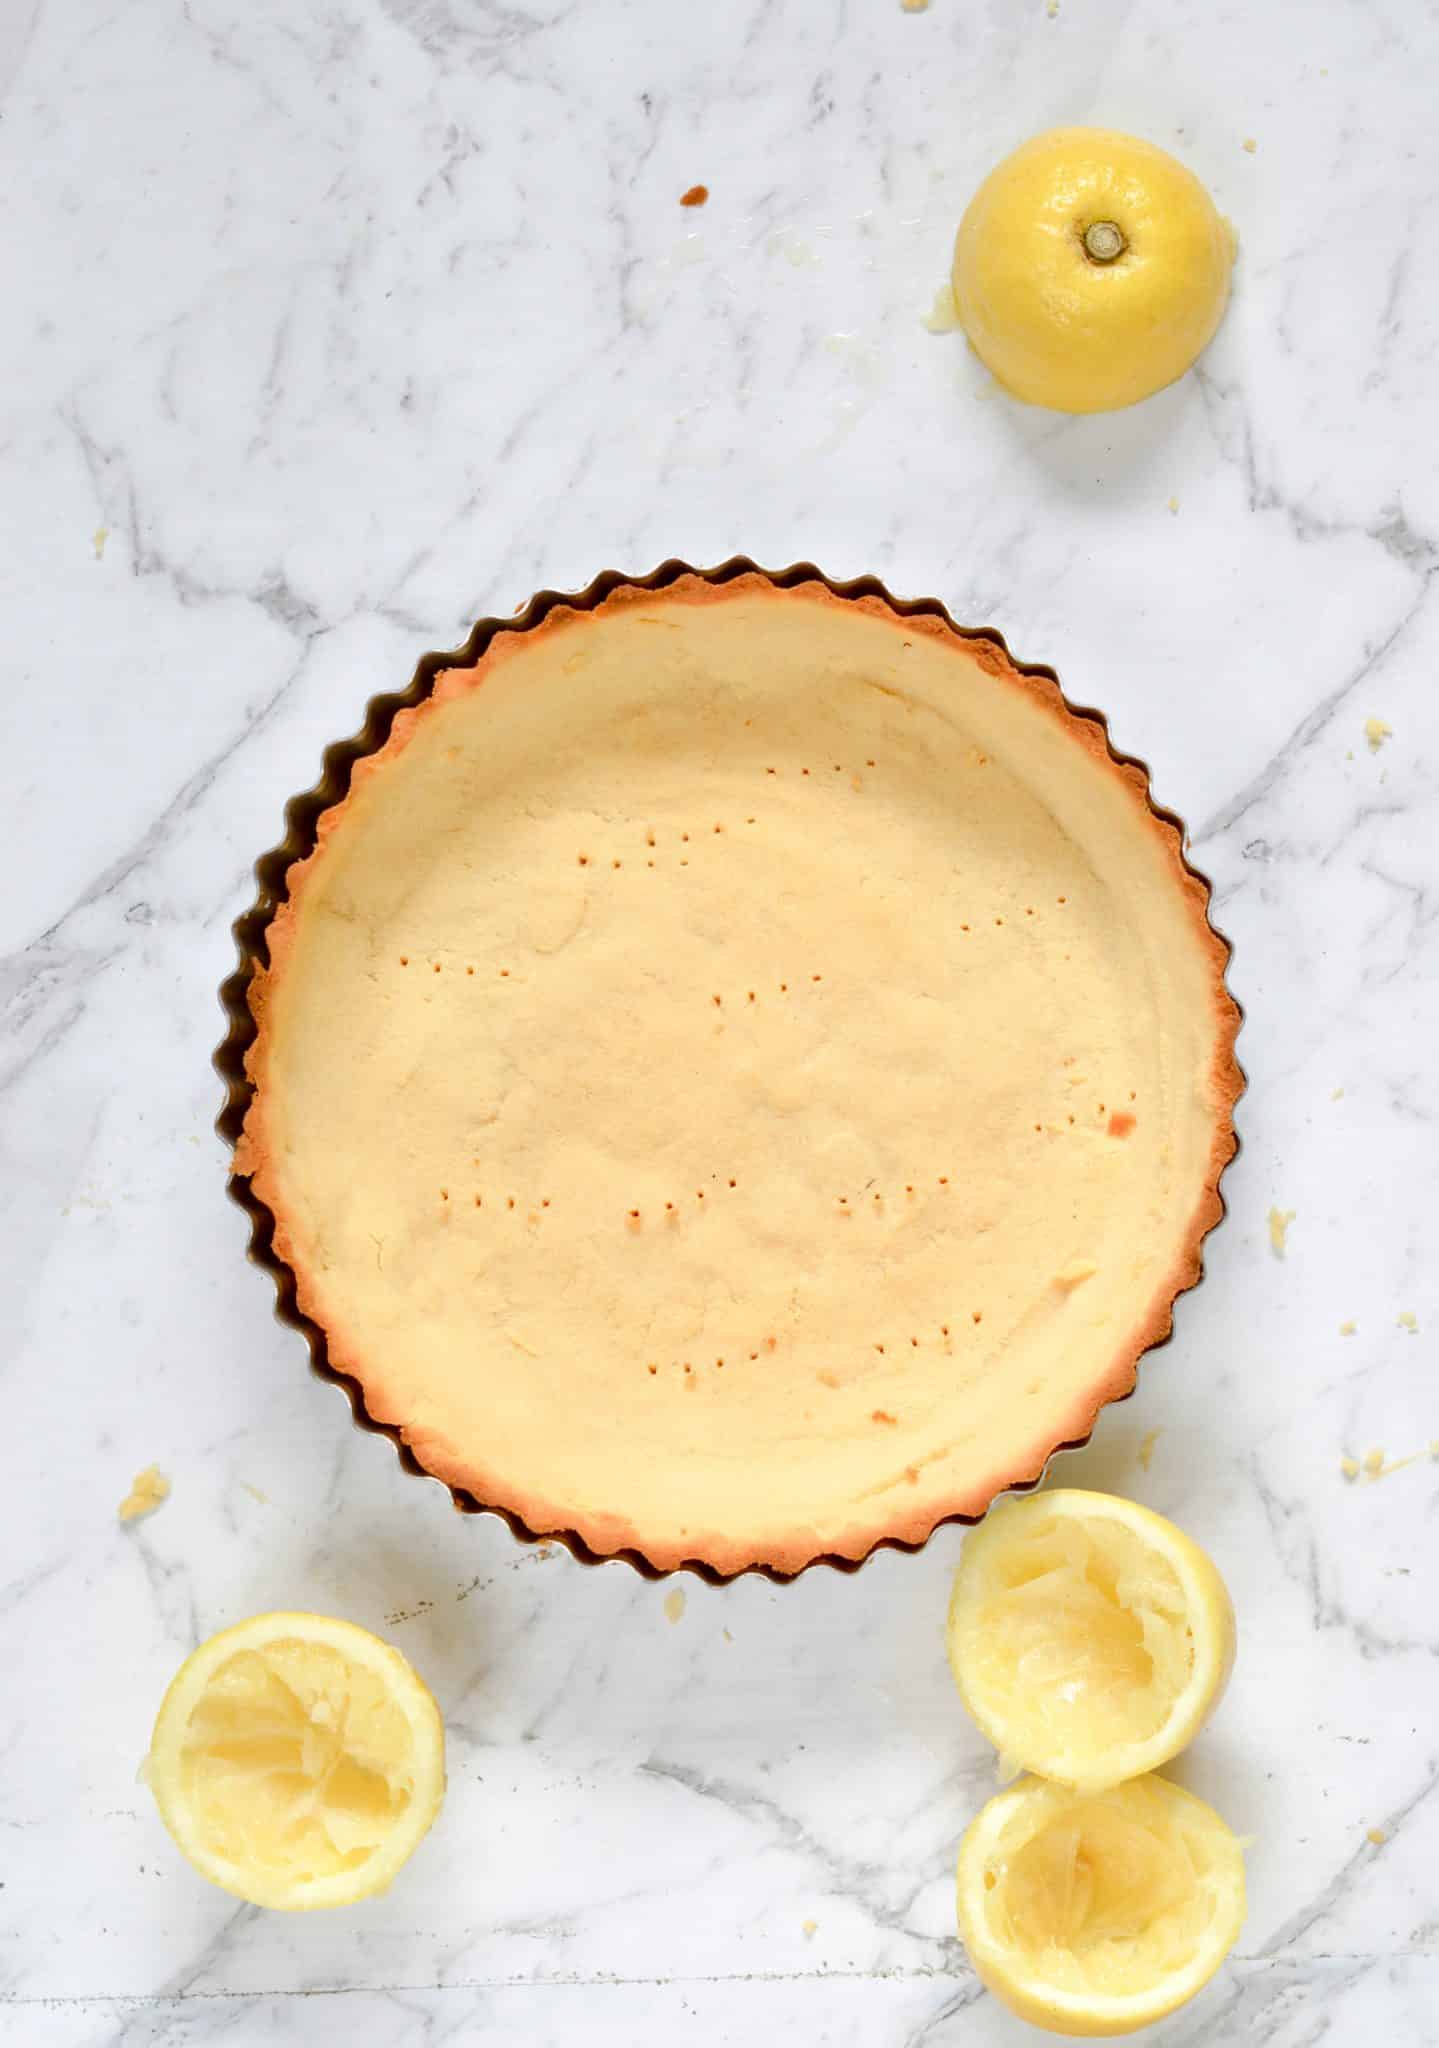
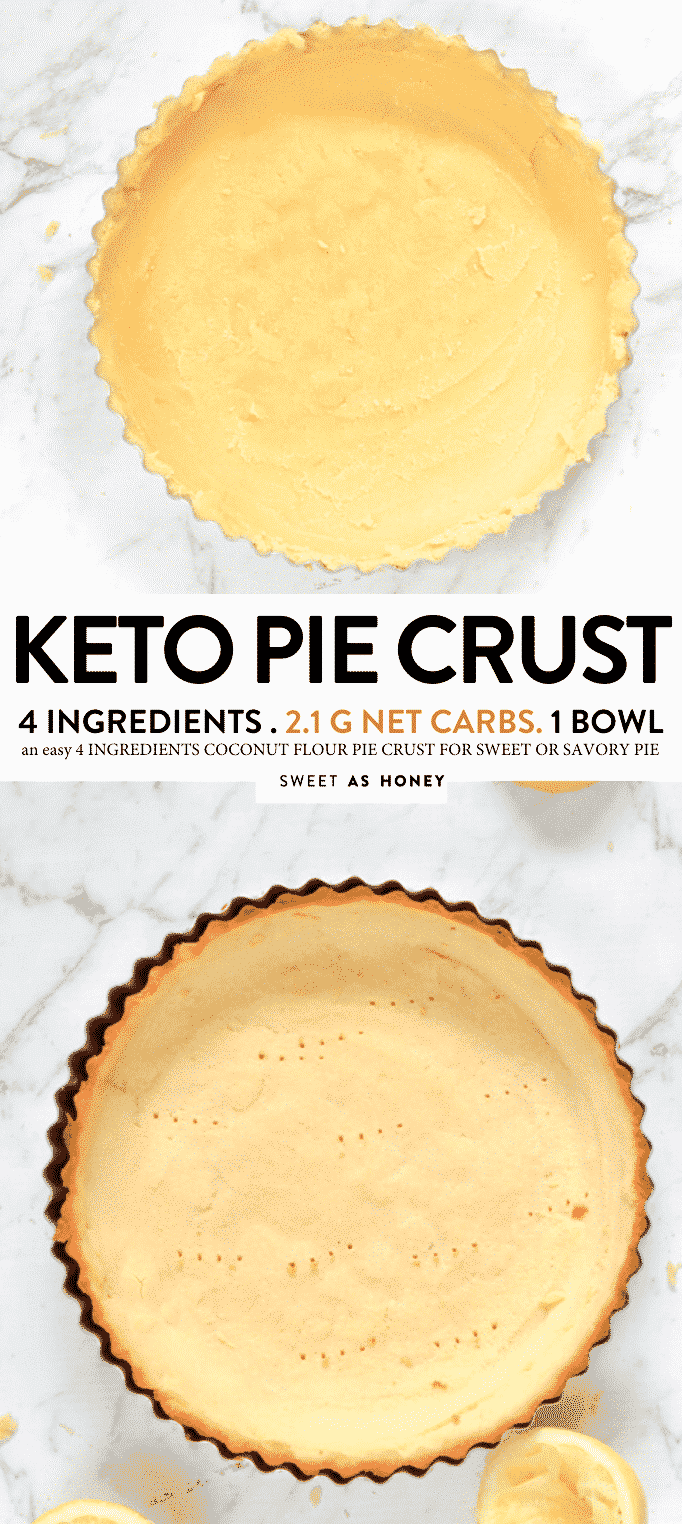
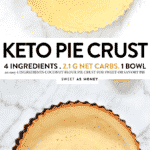
This Coconut Flour Pie Crust is an easy keto pie crust made with only 4 ingredients. Plus, this coconut flour shortbread crust is dairy-free and, therefore, a paleo-friendly pie crust.
Delicious for either a sugar-free pie crust recipe or a savory pie.
What Is A Coconut Flour Pie Crust?
A coconut flour pie crust is a grain-free pie crust made with coconut flour and only 4 simple ingredients.
Coconut flour is a very low-carb gluten-free flour with only 6 grams of net carbs per 1/4 cup. Read more about Keto-friendly flours.
Therefore, this is the best flour to create a keto pie crust.
Why You’ll Love This Recipe
This keto pie crust is one of my favorite for sweet and savory pie because it’s:
- Gluten-Free
- Dairy-Free
- Grain-Free
- Paleo
- Keto-Friendly
- Made With 4 Ingredients
- Ready In Under 30 Minutes
How To Make Coconut Flour Pie Crust
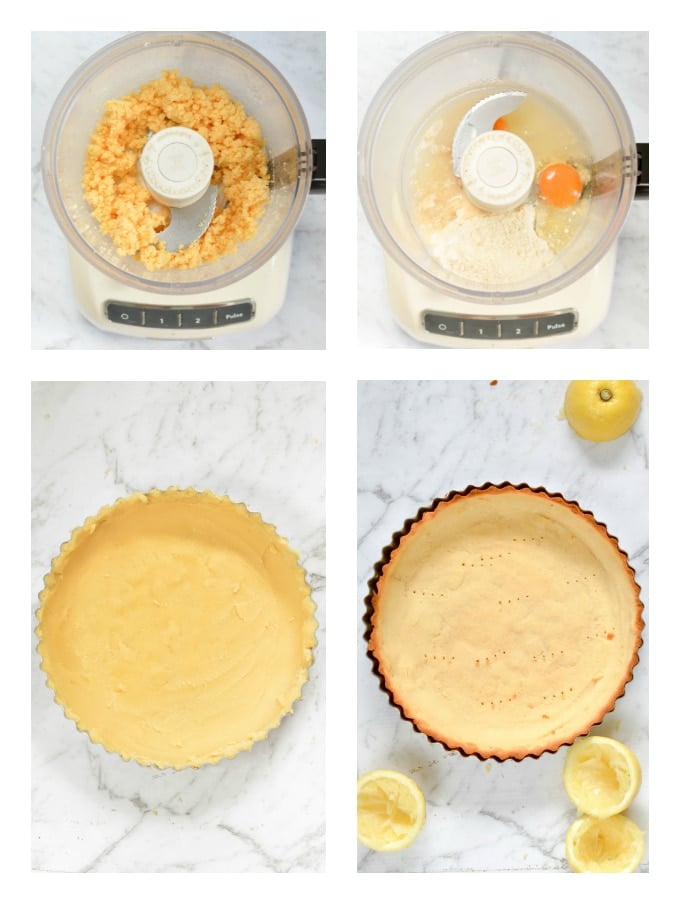
You can prepare your coconut flour pie crust either in a food processor or in a simple mixing bowl.
Both methods work very well and create a pie crust in less than 15 minutes.
As this recipe uses beaten eggs, it is primordial to have all ingredients at room temperature.
In fact, cold eggs create lumps when in contact with coconut flour, and hot melted coconut oil (or butter) will cook your eggs.
Another great thing about this coconut flour pie crust, you can store the dough in the fridge for 24 hours to make any pie ahead. Isn’t that easy and simple?
Pie Crust Ingredients
This is an easy 4-ingredient keto recipe, and all you need to make this delicious easy keto pie crust with coconut flour are:
- Coconut Flour – always use fresh coconut flour with no lumps. Any lumps mean that your coconut flour has soaked some air moisture. Coconut flour is one of the best keto-friendly flours.
- Coconut oil – if you don’t like the flavor of coconut oil, you can also use refined coconut oil. It has no flavor. Otherwise, use grass-fed butter or ghee.
- Eggs – you must use large eggs at room temperature in this recipe. Don’t replace with flax eggs, or the crust gets very soft and won’t crisp.
- Salt or sweetener – add 1 teaspoon of salt for a savory pie. Otherwise, add 2 tablespoons of sugar-free crystal sweetener for a sweet pie along with 2 teaspoons of spices if desired – I like cinnamon and ginger to make a keto pumpkin pie.
Rolling Or Pressing The Dough
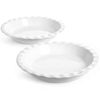
Obviously, the recipe works in any kind of pie pan, but it gets crispier in a non-ceramic pie dish.
After a few attempts, I noticed that this coconut flour pie crust is easier to remove from a non-stick removable bottom pan.
Also, note that this dough doesn’t obviously need to be rolled.
It is up to you to roll it between two pieces of parchment paper, then flip it over on the pan.
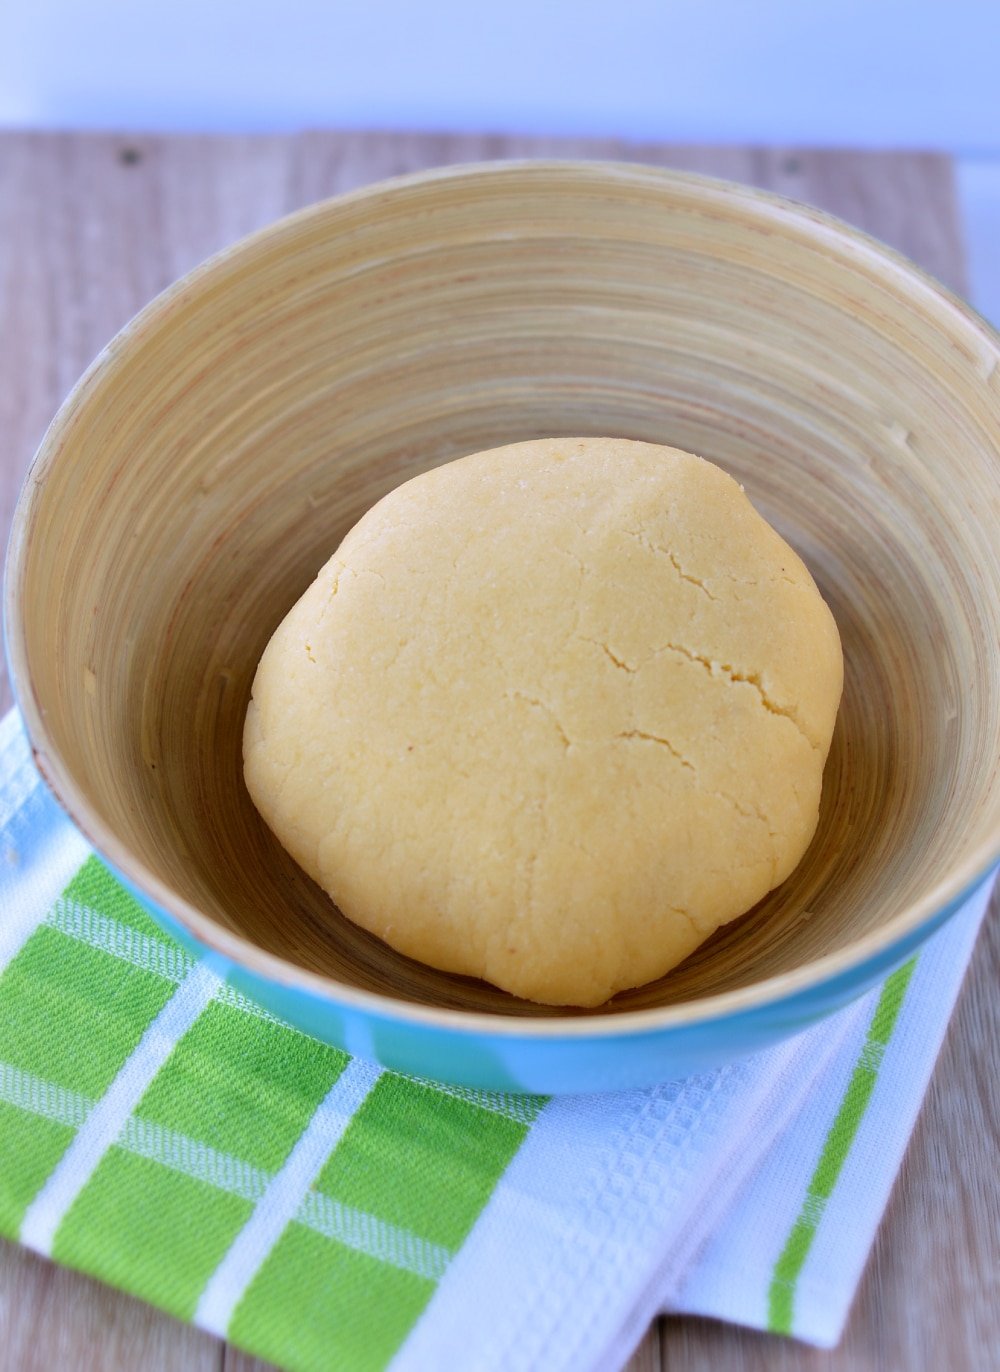
Or, press in the dough ball to cover the pan.
Both methods work very well. I personally prefer to roll my dough to keep the crust thickness the same all over the pie.
You will love this buttery coconut flour pie crust. It has a divine coconut taste.
What Keto Pie To Make
You can make either a sweet sugar-free pie or a savory pie like a delicious broccoli and bacon quiche as a healthy keto dinner.
Otherwise, you can also use this pie crust to make a fresh sugar-free lemon pie recipe or a sugar-free pumpkin pie. It should be noted that you need to prebake your crust.
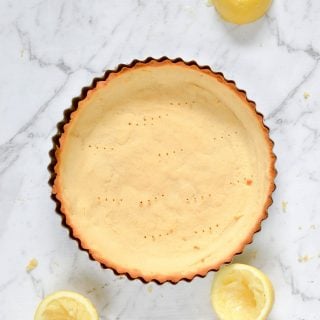
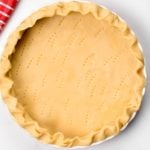
If you use the recipe as a pastry shell, you must prebake the crust even longer. In this case, prick the crust and bake it for 20-30 minutes at 350°F (180°C).
Make sure you cover the crust with a piece of foil. This prevents the crust borders from browning too fast.
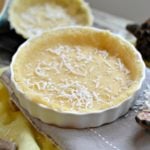
Remove from the oven when the crust is crispy and golden on the sides. Cool it down, then add any cold filling like cream cheese or custard.
More Keto Crust Recipes
For more keto crust recipes, check out the recipes below:
Did You Like This Recipe?
Leave a comment below or head to our Facebook page for tips, our Instagram page for inspiration, our Pinterest for saving recipes, and Flipboard to get all the new ones!
Coconut Flour Pie Crust
Ingredients
- ¾ cup Coconut Flour
- 2 large Eggs at room temperature
- ⅓ cup Coconut Oil measure melted or melted butter
- ¼ teaspoon Salt or 1 tablespoon powdered sweetener for a sweet pie
Sweet pie crust add-ons – choose one or 2
- 2-4 tablespoons Granulated Sweetener
- ½ teaspoon Coconut Extract or Vanilla Extract
- 1 teaspoon Ground Cinnamon for keto pumpkin pie
- 1 teaspoon Ground Ginger for keto pumpkin pie
- 1 teaspoon Lemon Zest for keto lemon pie
Savory pie crust add-ons
- 1 teaspoon Salt
- 1 teaspoon Garlic Powder
Instructions
- Preheat the oven using the fan-forced mode at 350°F (180°C).
- Grease a 9-inch pie pan with butter or coconut oil. I recommend using a non-stick removable bottom pan, it will make the unmolding process easier. Otherwise, a glass or ceramic pan works as well but you will have to serve the pie in that pan and serve from the pan. Set aside.
- In a large mixing bowl (or a food processor with the S blade attachment), add the coconut flour, beaten eggs (at room temperature), melted coconut oil (not hot, lukewarm, hot oil burn eggs!), and salt (or sweetener depending on whether you are making a savory pie or a sweet pie).
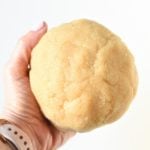
- Combine with a spoon (or process on medium speed until it forms a crumbly dough). The dough is wet at first and dries as you go. After 30 seconds, use your hands to knead the dough. It shouldn't take more than 90 seconds to be able to form a dough ball. If you used the food processor, it would form a crumble of dough after 30-45 seconds. Stop the food processor, gather the pieces into a ball with your hands.
Press in method
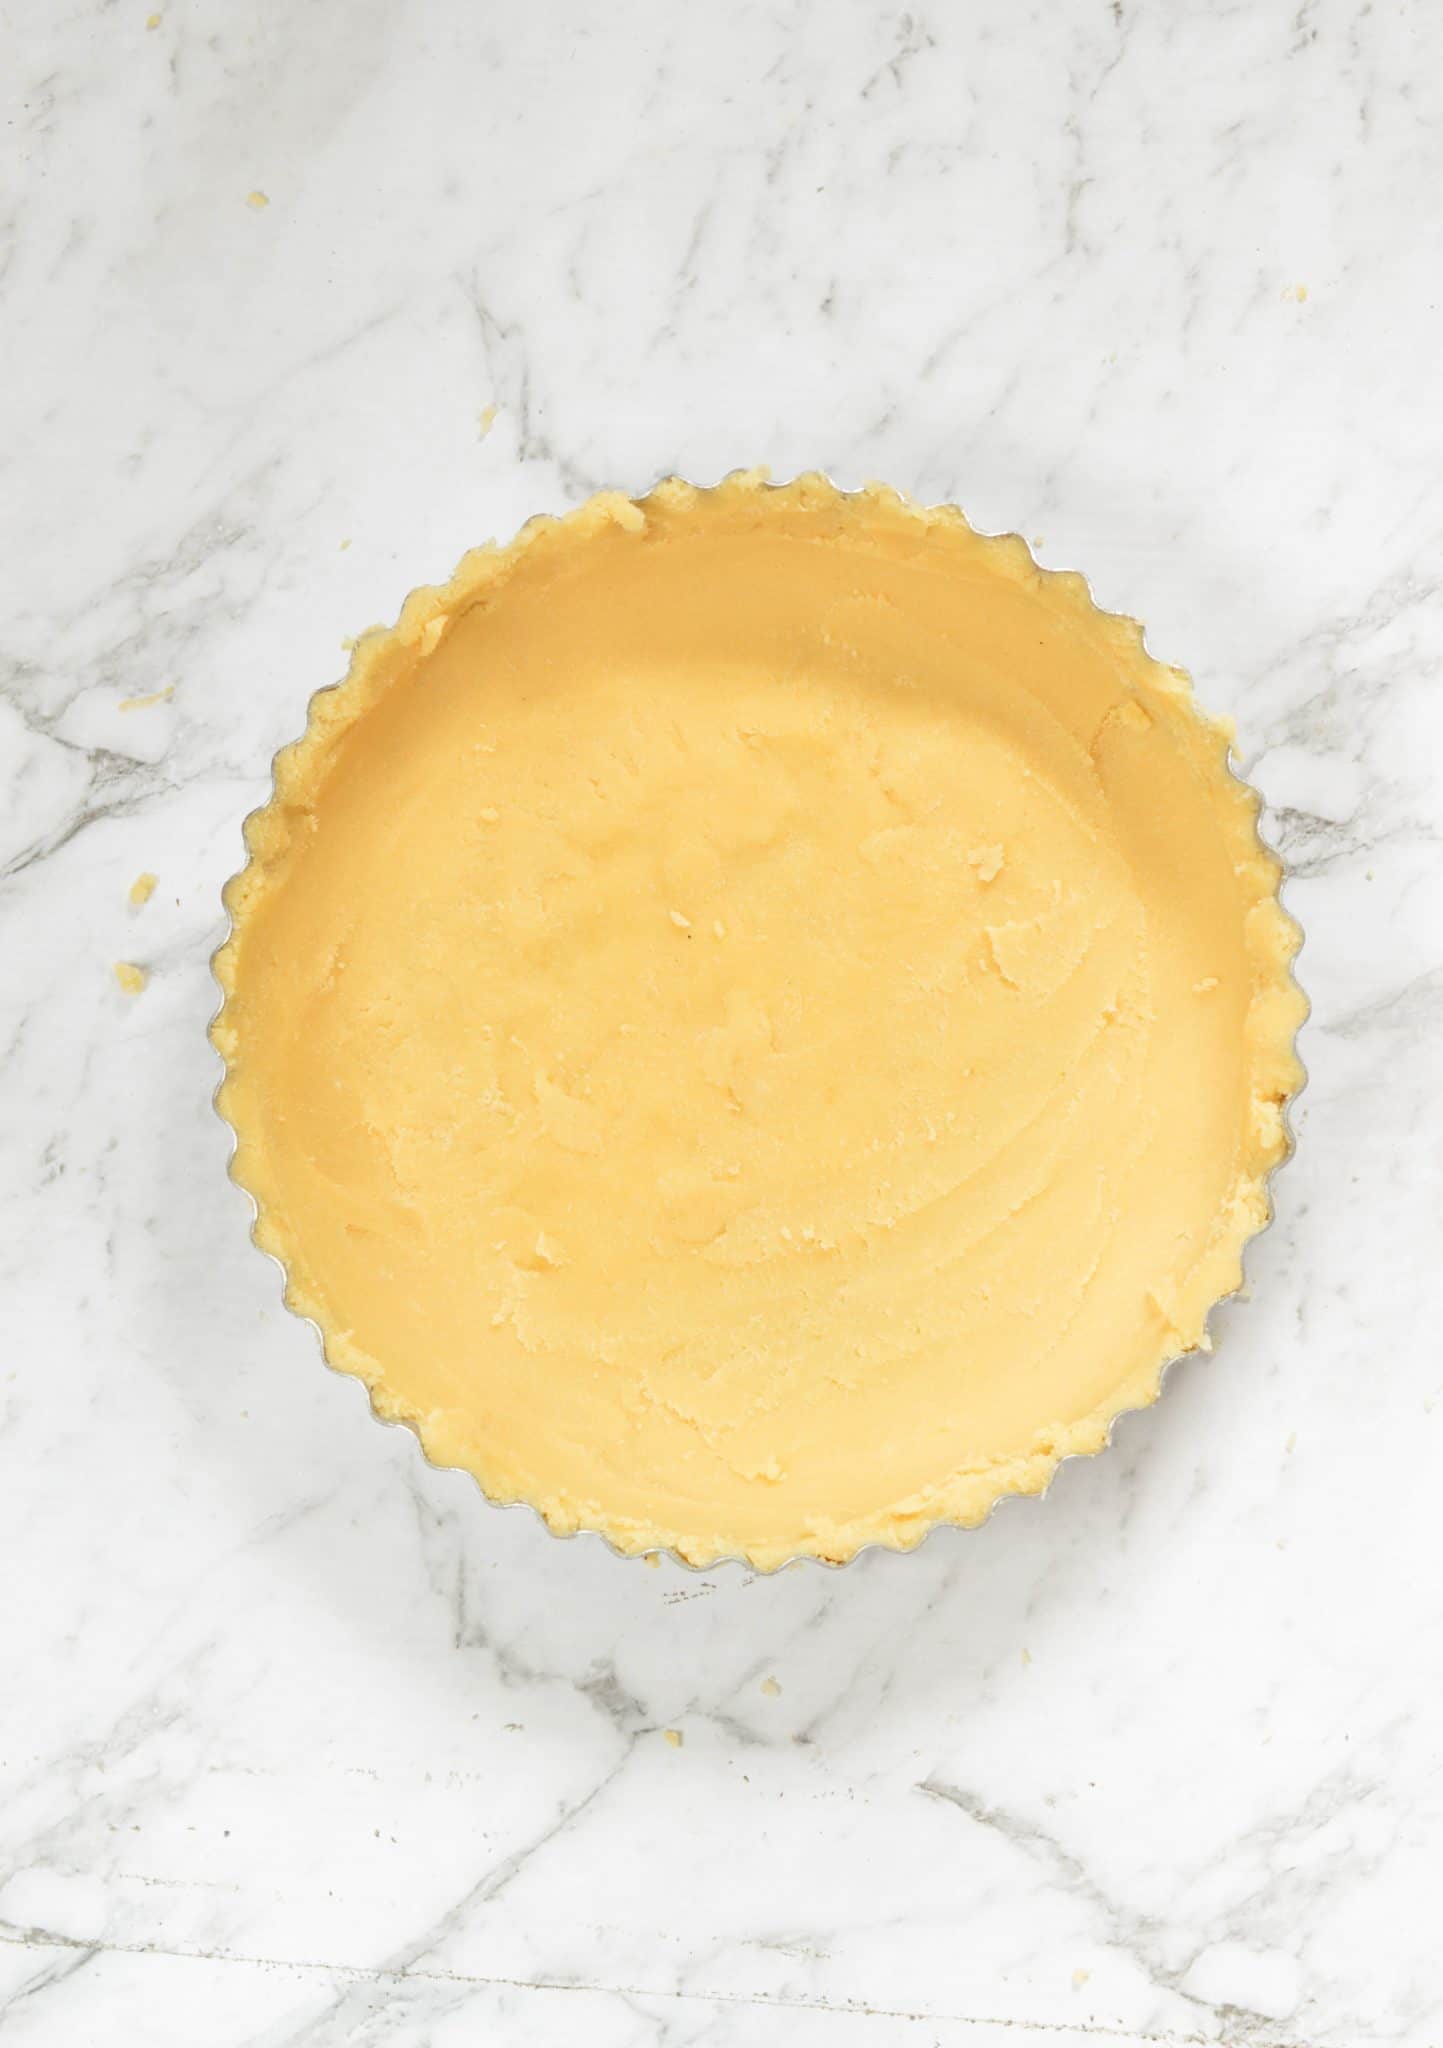
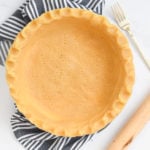
- If you don't feel like rolling the dough, simply place the dough ball in the center of the pie pan. Press with your hand to flatten the ball. It will become crumbly again. That is what you want to have lovely shortbread coconut pie crust. Use your finger to spread and press evenly the dough all over the pan and press to stick the dough to the pan until it forms a lovely smooth crust.
- Use the back of a spoon to press the dough to the pan and smoothen the surface. The more you press the more it will hold together when serving.
Rolling method
- Place the dough ball onto a piece of parchment paper, press another piece of parchment paper on top. Yes, you don't have to refrigerate the dough at this stage!
- Roll the dough, thick as regular pie crust. Refrigerate the rolled dough for 10 minutes on a flat board. It will slightly harden the dough and make it easier to flip over on the pan.
- Remove the top layer of parchment paper and flip over the crust onto the pan.
- Remove the last parchment paper layer and press the dough in the center to go in the pan. It will crack and that is ok. Gather pieces of dough to fill holes and press them with your fingertips to stick. Use a spoon to smoothen the surface.
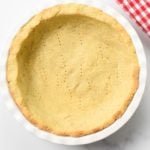
- Prick the crust before baking it. Avoid pressing the dough too much on the pan borders or it gets more difficult to serve slices without breaking.
- Pre-bake for 15 minutes at 350°F/180°C. Add a piece of foil on top of the crust to prevent the border from browning too fast.
- Remove from the oven, add the sweet or savory filling of your choice like quiche fillings, pumpkin filling.
- Return to the oven until the filling is set around 40-50 minutes for a pumpkin pie or 30-40 minutes for a quiche.
- If you used a removable bottom pan, you will be able to unmold your pie after it cool for 3 hours in the pan at room temperature. For ceramic and glass pan, don't unmold and serve directly from the pan.
Storage
- You can prepare the dough 24 hours before. Wrap the dough ball in plastic wrap and store it in the fridge. Remove from the fridge 3 hours before rolling to soften.
Notes
Tools
Getting Started What Is Keto? Macro Calculator Sweetener Converter Intermittent Fasting Keto Fruits Keto Vegetables Keto Flours Fighting Keto Flu Healthy SweetenersWant My Kitchen Equipment?
Nutrition
Disclaimer
The recipes, instructions, and articles on this website should not be taken or used as medical advice. You must consult with your doctor before starting on a keto or low-carb diet. The nutritional data provided on Sweetashoney is to be used as indicative only.
The nutrition data is calculated using WP Recipe Maker. Net Carbs is calculated by removing the fiber and some sweeteners from the total Carbohydrates. As an example, a recipe with 10 grams of Carbs per 100 grams that contains 3 grams of erythritol and 5 grams of fiber will have a net carbs content of 2 grams. Some sweeteners are excluded because they are not metabolized.
You should always calculate the nutritional data yourself instead of relying on Sweetashoney's data. Sweetashoney and its recipes and articles are not intended to cure, prevent, diagnose, or treat any disease. Sweetashoney cannot be liable for adverse reactions or any other outcome resulting from the use of recipes or advice found on the Website.


Share this post!
If you enjoyed this post, share it with your close ones!
Leave a comment
That recipe looks great, I can’t wait to try it.
Hello Carine!
Thank you so much for your recipes!! They are all so helpful and delicious! I was just wondering if I could use this crust for mini tartlets? I was thinking of putting it in mini muffin tins (maybe using the paper cups?)
Thank you so much again!
You can use this recipe for any size of tart but it might be fragile into mini tartelets.
Good taste and easy to put together with a fork. Little to no taste of coconut.I don’t have access to an oven rn so I used an air fryer. I spread it out a parchment liner, set the air fryer to 350 and “baked it” for 5 minutes. Stirring every 45 seconds to keep it from burning. Then used it to top 2 Bowles of canned cherries as a crumble. Would make again, very tasty. Thank you!
Thank you SweetAshoney for the recipe, my coconut flour was from online and is a little bit sweet but doesn’t matter as I am making a rhubarb and blackberry tart.
Also Mary thank you for the info on using the air fryer – I avoid using my oven unless cooking masses to fridge and freeze – energy prices. Plus air fryer so quick.
Can I double this recipe?
I didn’t try that but it should work I guess
Can I use this recipe for keto pop-tarts? I can’t have almonds and am dying for a pop-tart, lol. Thanks!
No, it won’t work, this is a press in crust, it has no added gum so it can’t be rolled and cut out without cracking.
Do I have to bake the shell first if I’m making pumpkin pie?
Follow my pumpkin pie recipe.
Would this work as tart crust like chocolate or cheese tart?
Yes, any pies and tarts
If I do not have coconut oil, can I use any other vegetable oil? Any difference using oil vs melted butter?
Unfortunately vegetable oils are not keto friendly. You can use melted butter instead of coconut oil, same melted amount
LOVE LOVE LOVE this recipe! I can not have almonds and use your site a bunch for your coconut flour recipes. That said do you think I could use this recipe to make hot pockets?thanks in advance!
Nicole P
Thanks Nicole! It won’t work for pockets but you can use my pop tart dough recipe for pockets recipe . Enjoy, XOXO Carine
WOW!! This looks awesome! Thank you so much for the video, because I’ve often had exactly the same thing happen to me I’ll finally get it rolled out to ensure proper thickness throughout and then I’ll try to gently flip it into my pie plate only to have to it break just as yours did. At which point I’ll get very discouraged and won’t know what to do whether to try rolling it out again or to do as you did and just press in all the while telling myself no one is going to know if they had a thicker crust then the person beside them anyway! Lol! Have you tried freezing this dough? My thought is to make a few pie crusts at once and when I get to the rolled out stage just lay another piece of parchment over top and then continue to add my sheets of parchment with dough rolled out and then put the stack of them into a ziploc bag and then put it into a sealed container to prevent damage if they happen to get shuffled around in the freezer. Then when I want to make a pie simply take the layer of dough out and let it thaw a bit and then press it into the pan. Do you think that would work? I was thinking since you are using coconut flour any excess water that may have been absorbed from freezing won’t hurt it because it should just absorb any excess? At least that’s my thought, also with rolling them out first instead of storing in balls it will dramatically decrease the thaw time and when I would be able to use it? Have you tried this by chance and can you tell me if this works? I would think they should be fine in the freezer for 6-9mths?? It would allow me to whip up a quiche on a weeknight when I’m struggling to come up with a fast keto meal. I’m thinking this would also work with tarts but only if I use silicone muffin pans otherwise I think it would be impossible to get them out of a pan without causing all the crust to crumble? I really would love your feedback and I thank you so much for your recipes. I noticed that you have cookbooks for sale as well. I will definitely be looking in to purchasing them after I’ve tried a few of your recipes but I’m sure I will have success especially with the help from your tips within the recipes and the combined videos. Thanks again!🇨🇦Leanne
I never freeze this recipe, by I am pretty sure it will work if you freeze it into the pan. Enjoy, XOXO Carine
Turkish Lamb Galette made with the coconut flour crust. I did not prebake crust and it was wonderful.
Was delish
I would like to use this recipe for a no-bake pie, but I am unsure if it will get soggy being refrigerated. Any tips or advice?
It will store well in the fridge, it doesn’t get soggy. I would probably try my no bake keto pie crust recipe instead.
Where is the recipe video please?
Recipe videos appears in the recipe card after the lst instructions. If you can’t see it it might be because you are using an ad blocker. Disable ad blocker and it will shows. Enjoy the recipe, XOXO Carine.
hi dear Carine, thank you thank you thank you for this recipe, you are so wonderful…..1oooooooo of thanks
Oh thank you so much for the lovely words. Love from New Zealand, XOXO Carine
I made this for my dad who can’t have regular flour and he seemed to like it. When I tasted the crust, it tasted pretty good but was definitely a bit harder than I expected. Very easy to put together and I like the way I could press it into the pan. A removable bottom pan is a must!
Thanks for the lovely feedback! I agree, grain free pie crust are a bit challenging to unmold and that is why I recommend the removable bottom pan in the recipe. It is the best way to get the crust lovely without breaking. Enjoy the recipes around here with your dad. XOXO Carine
Hi Carine – thank you for this simple recipe! I would like to use it with a no-bake pumpkin pie and I am wondering how long I should bake the crust?
In gratitude…
Hi! I will start with 15-20 minutes and check if the bottom is crispy enough to use as a pie shell. It shouldn’t need more than 30 minutes. Enjoy ! XOXO Carine
Hello, i tried the recipe and it was good but, i had a little problem with the measure cups is too confuse by me who always use grams. Please, maybe can you tell me how much is coconut flour and coconut oil in grams because i like it but the crust was so weak and at the end i had to change the way to put in the pie pan.
Thank you for the best recipes
Hello ! I use cups in New Zealand and I am really trying my best to convert my recipes in grams. I will see if I can do this soon for you here. Enjoy the blog. XOXO Carine.
Hello, i tried the recipe and it was good but, i had a little problem with the measure cups is too confuse by me who always use grams. Please, maybe can you tell me how much is coconut flour and coconut oil in grams because i like it but the crust was so weak and at the end i had to change the way to put in the pie pan.
Thank you for the best recipes
Thanks for recipe! I can’t do cassava anymore (too starchy) and so this is wonderful. And I used this as a sweet crust AND I added salt. I always add salt to sweet b/c it’s a flavor enhancer, not a savory spice. I even put it in my homemade jam and it’s AMAZING. Just a pinch. Secret ingredient.
Thanks for the lovely feedback and this secret ingredient! I will definitely try next time. Enjoy the baking recipes on the blog, XOXO Carine
Thanks for sharing! Does it keep long?
You can make the crust the day before, store in the fridge and bake the next day. I wouldn’t store for more than 1 day in the fridge. Enjoy the crust. XOXO Carine.