3-Ingredient Pie Crust (Sweet or Savory)
This recipe may contain Amazon or other affiliate links. As an Amazon Associate I earn from qualifying purchases.
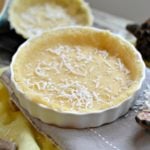
This 3-Ingredient Pie Crust is an easy homemade crust recipe perfect for any sweet or savory pie. Save money and avoid the additives from store-bought pie crusts and learn how to make your own with the most basic pantry ingredients.
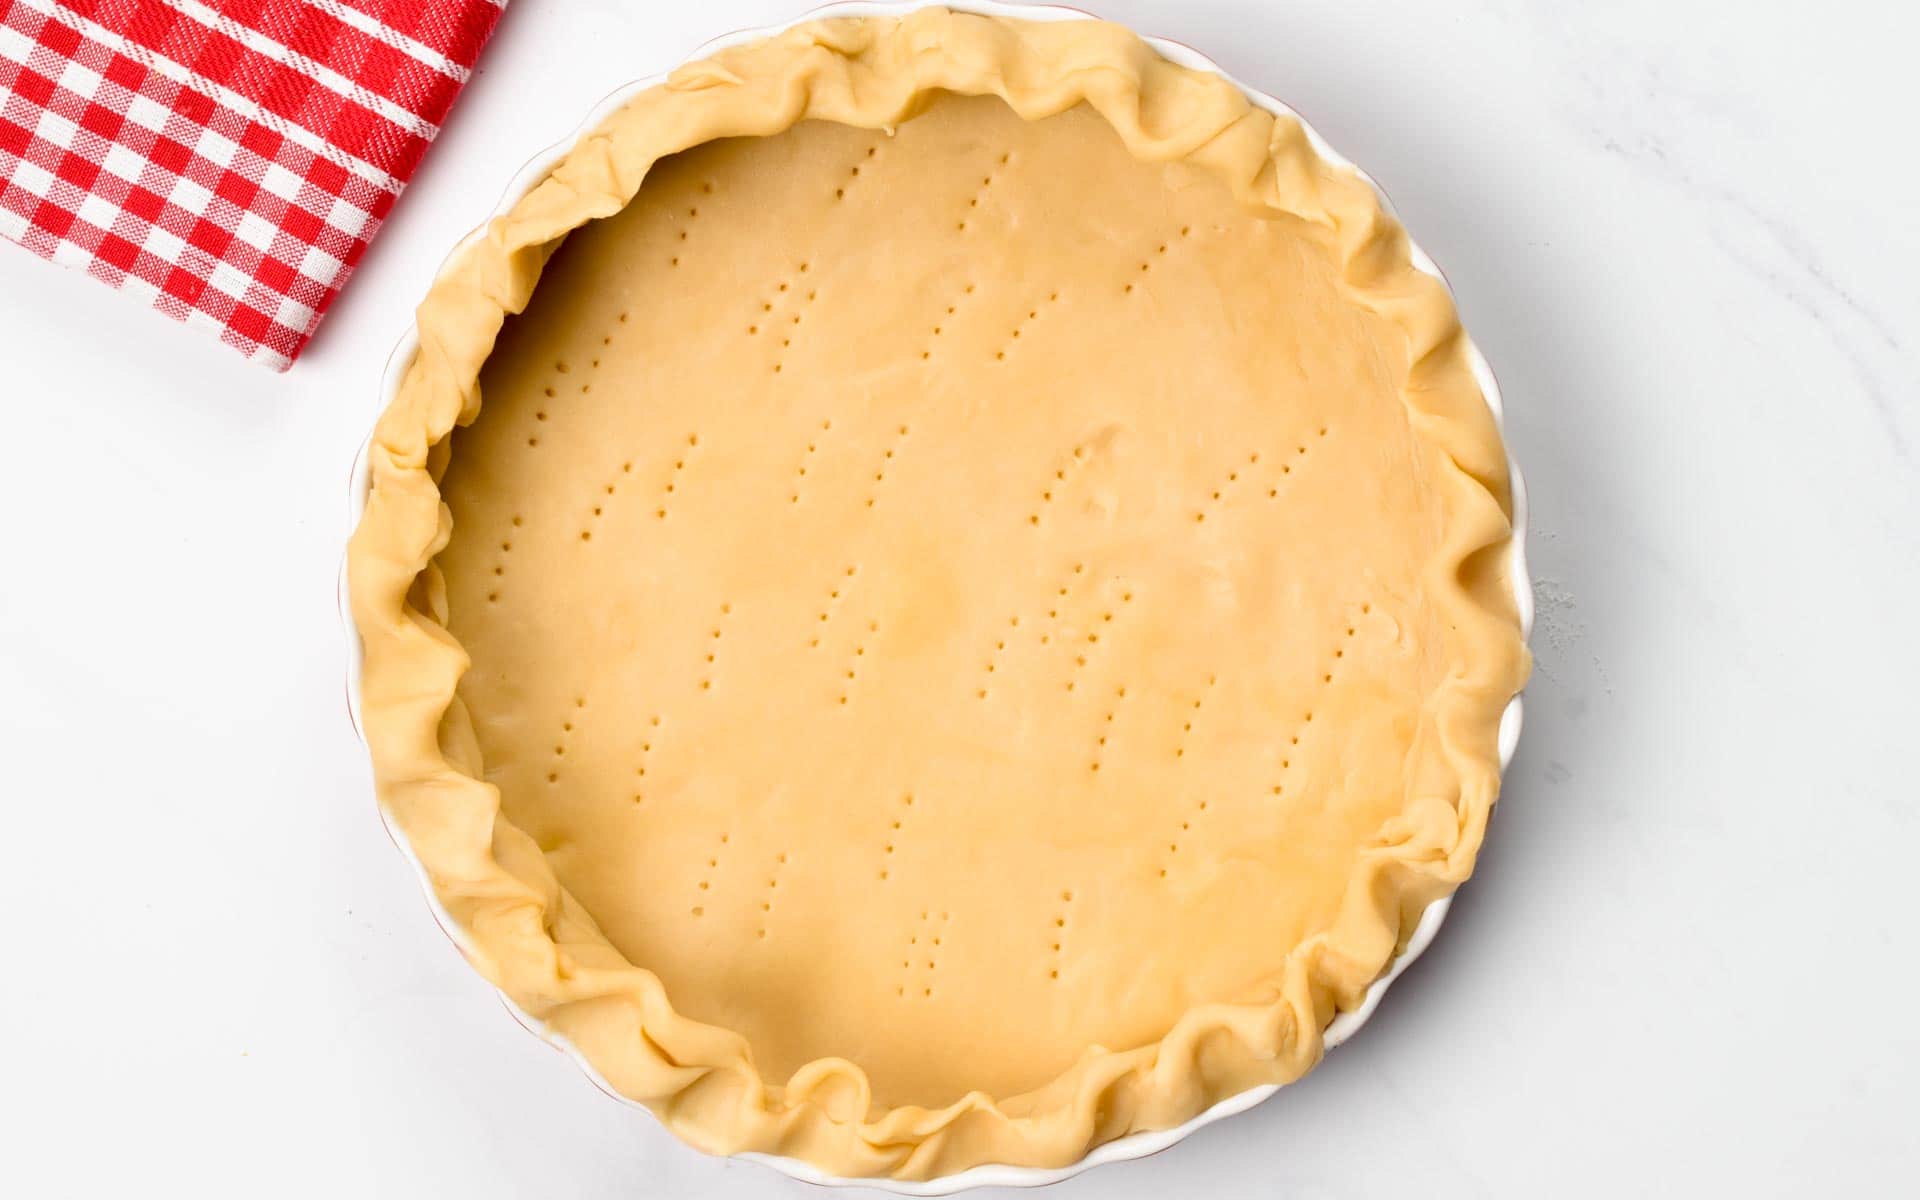
I know it sounds too good to be true, but this perfect pie crust is indeed made with 3 of the most basic ingredients. It’s a low-cost, easy, and versatile pie crust recipe that can be made in a few minutes.
Ingredients and Substitutions
All you need to make an easy pie crust recipe are:
- All-Purpose Flour – You can use white wheat flour, but it’s also possible to make this recipe with spelt flour or 1:1 Gluten-Free alternatives.
- Cold Water – Straight out of the refrigerator or cold tap. Do not use warm water.
- Diced Cold Butter – Prefer grass-fed butter.
How To Make 3-Ingredient Pie Crust
It’s ridiculously easy to make pies, and if you are after some healthier homemade recipes that are easy and save you money at the grocery store, start by making pie crust.
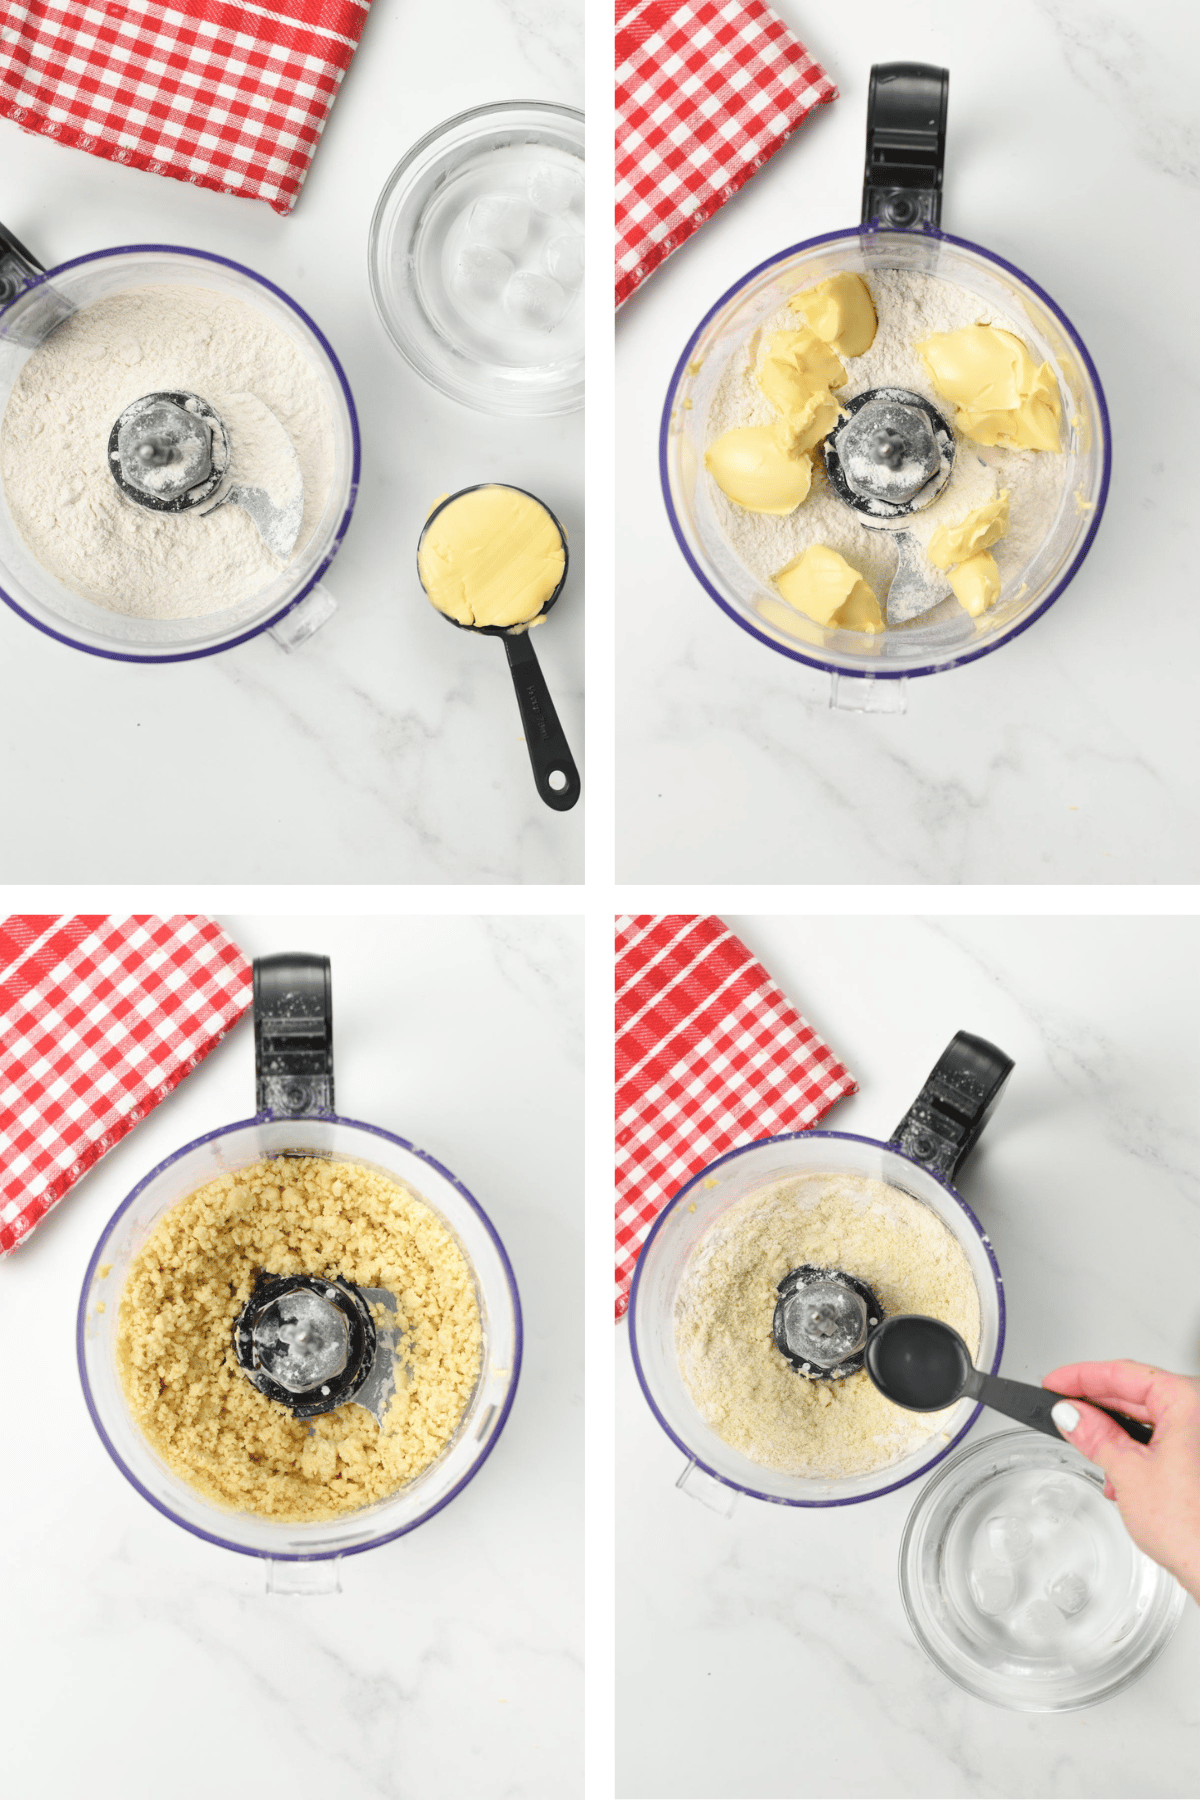
- The trick to nail any pie crust is to use super cold ingredients. To make sure your water is cold, fill a bowl with ice cubes and top them up with cold tap water.
- Then, when the recipe calls for ice water, measure the water straight out from the bowl so this ensures super cold water every time.
- In a large bowl, whisk all-purpose flour, salt, or sugar if you are making a sweet pie crust.
- Now, fold in the cubes of cold butter, and using a pastry cutter or two forks cut the butter into the flour.
- Keep pressing butter onto the flour mixture until all the butter is coated and until the mixture resembles pea-sized bits of floured butter
- Drizzle some cold water, that you scoop out of the icy water bowl, over the bowl with dry ingredients.
- Always add the water gently about 2 to 3 tablespoons at a time, stirring with a spatula or blade of a food processor after each addition.
- Stop adding water when the dough forms a ball that sticks together.
- I recommend preparing the pie crust at least 3 hours to one day before using it because refrigerating the dough makes the crust so much easier to roll. Fold the dough onto a lightly floured work surface and knead a few times to form a dough ball.
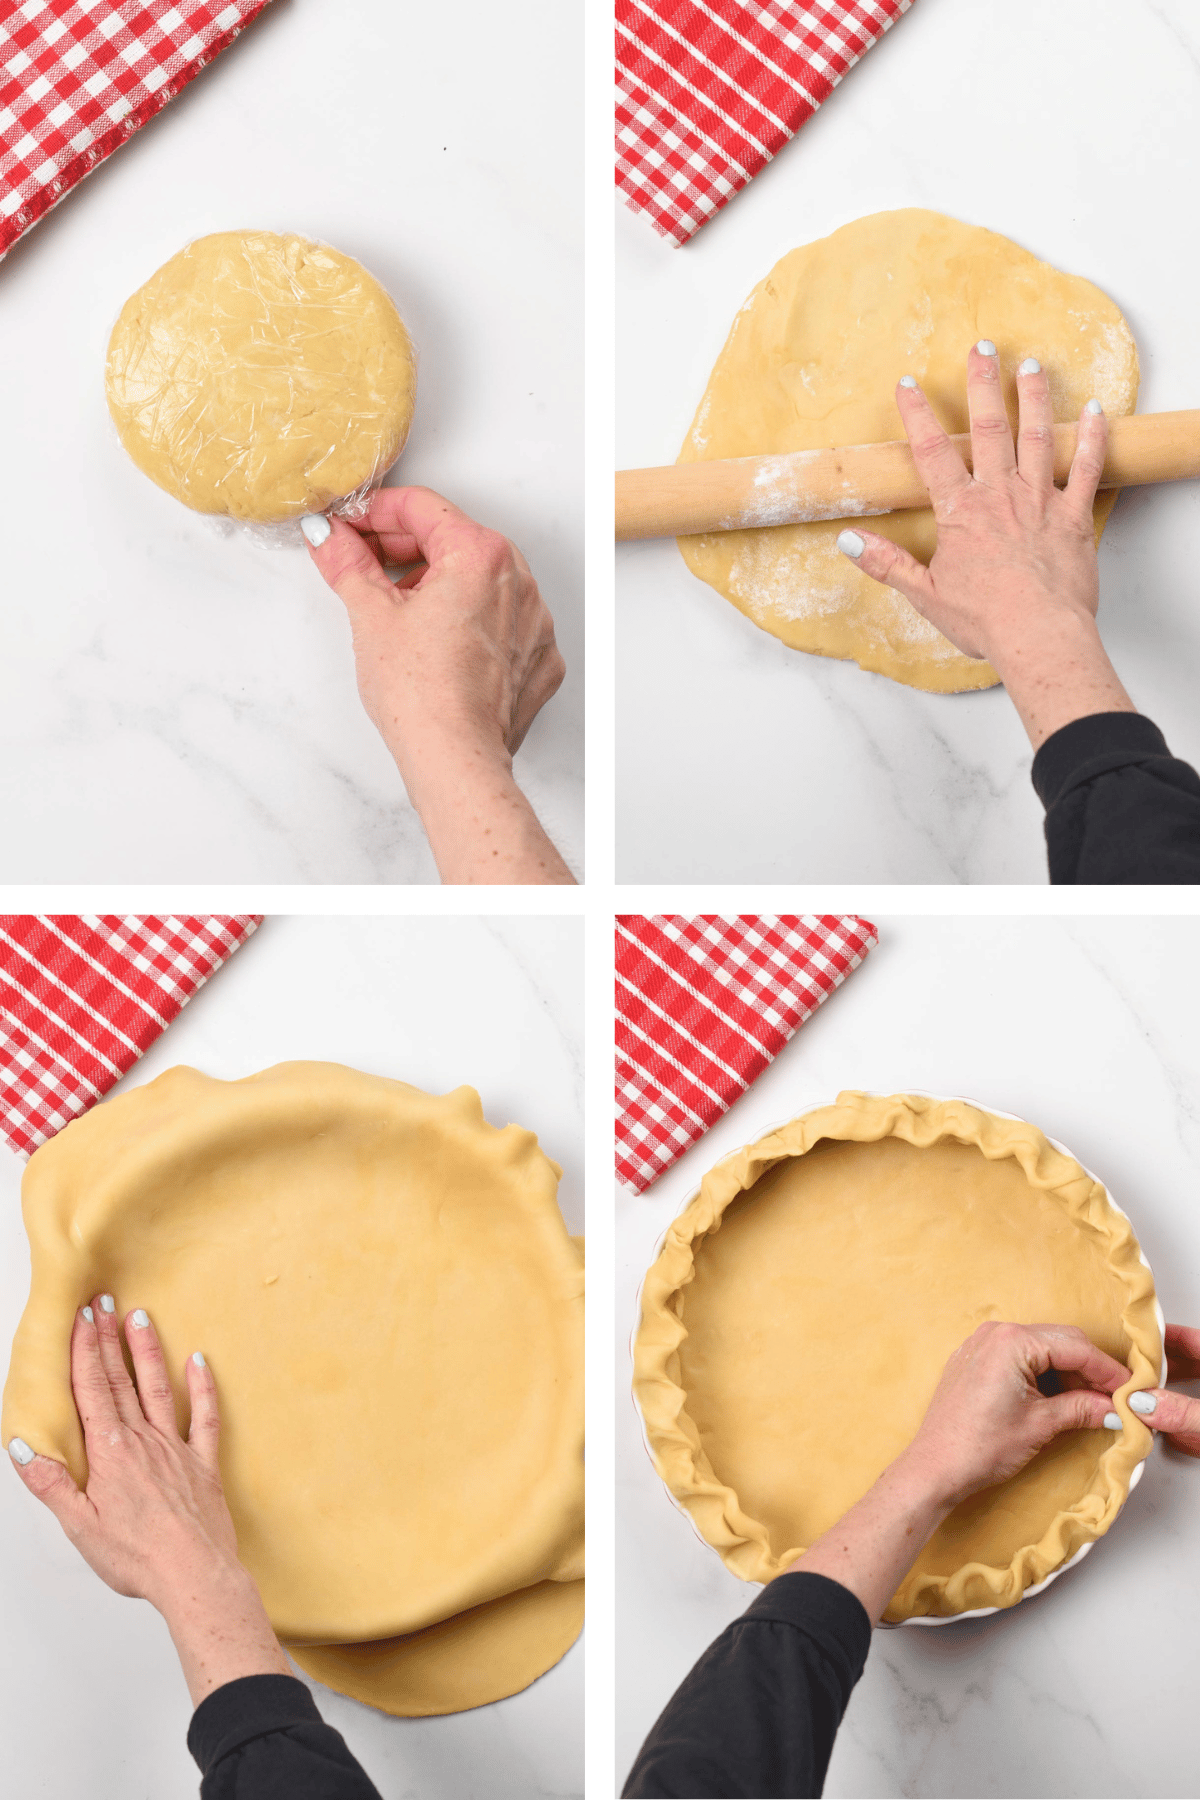
- Divide the dough ball into two balls of the same size and wrap tightly each ball with plastic wrap. Press each ball into a thick disc and place it in the fridge.
- Refrigerate the dough for at least 3 hours or overnight.
- Preheat the oven to 375°F (190°C) if you intend to prebake or blind the crust, otherwise preheat to 350°F (180°C).
- Grease a 9-inch pie plate with butter or coconut oil. Set it aside.
- On a lightly floured work surface, place the dough ball and start rolling with a rolling pin pressing the dough as you roll from the center to the sides.
- Roll the crust into a 12-inch circle to fit a 9-inch pie pan. The dough needs to be wider to cover the edges of the pan.
- Place the rolled crust onto the pie plate.
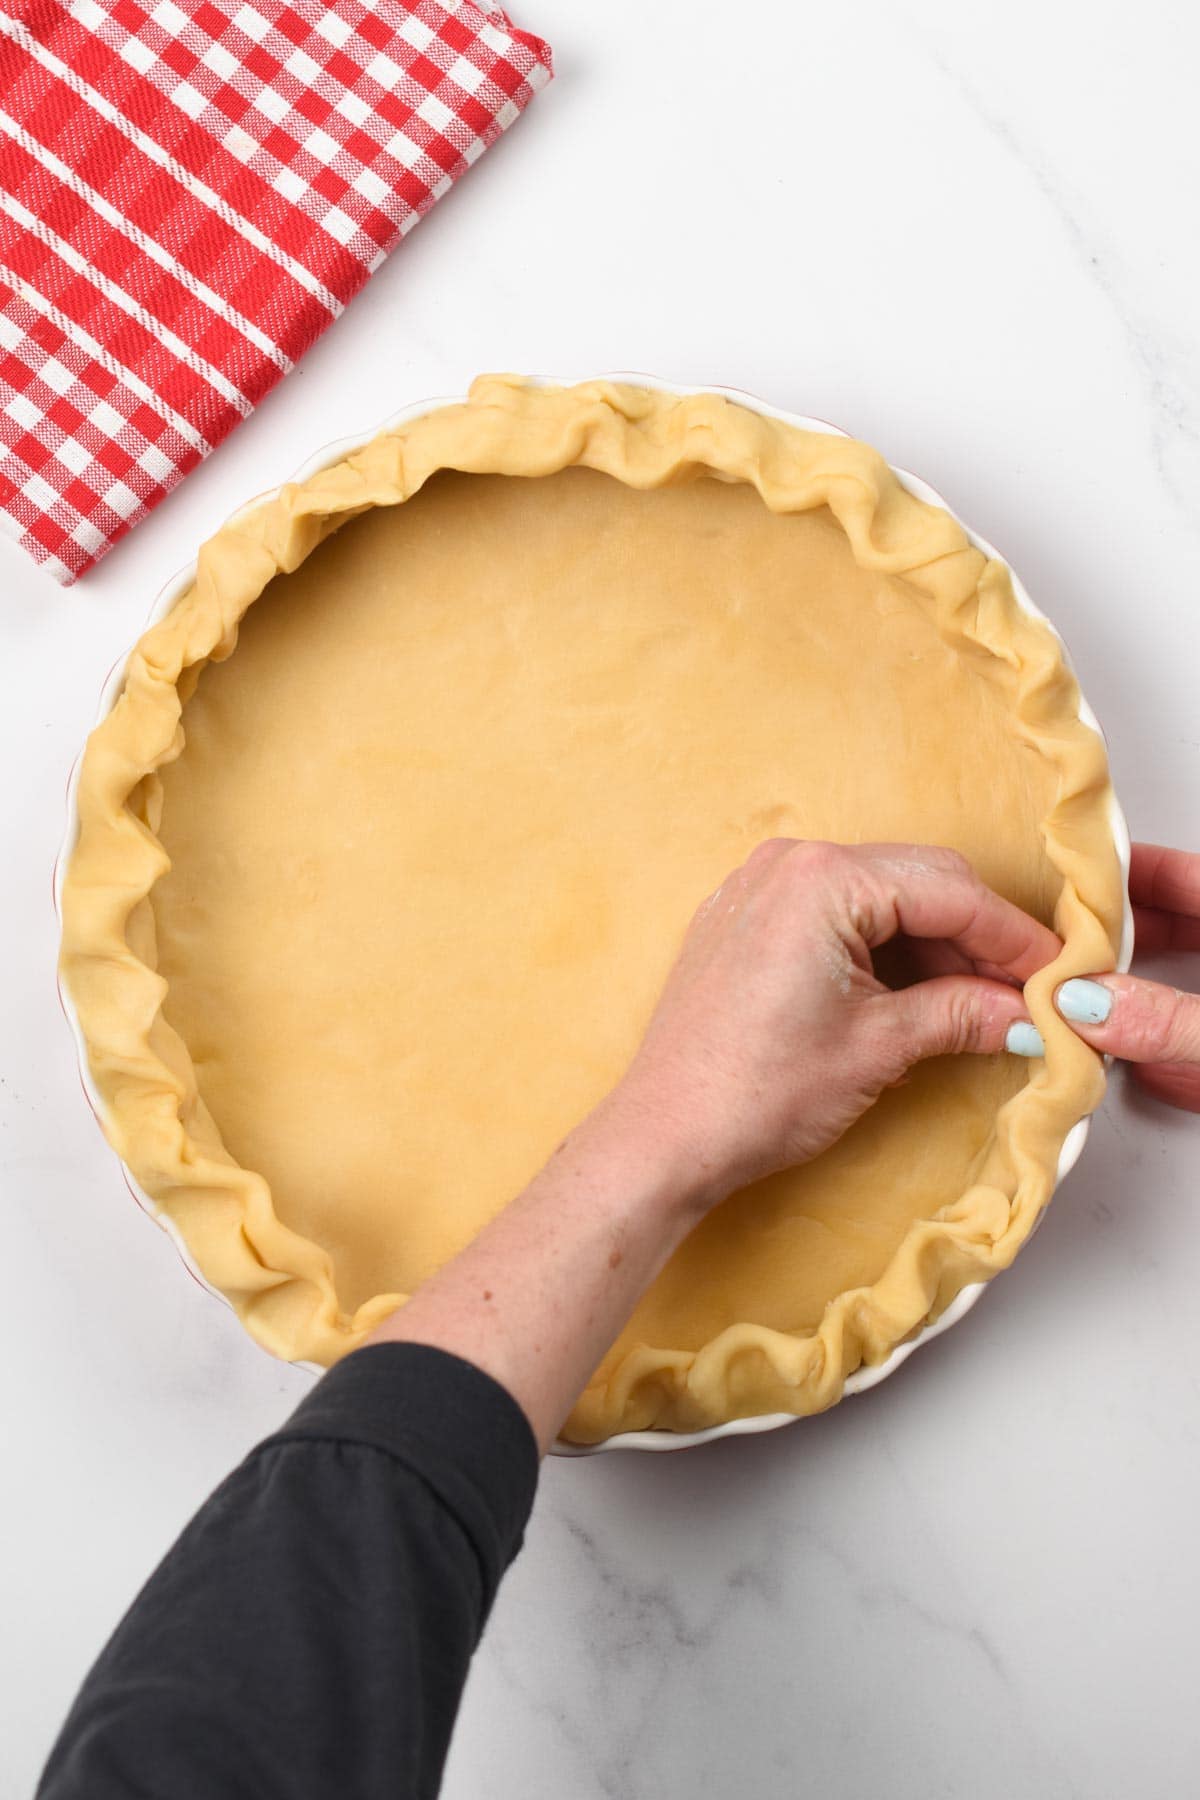
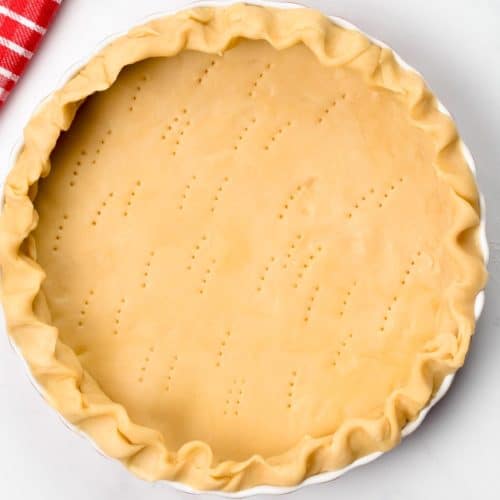
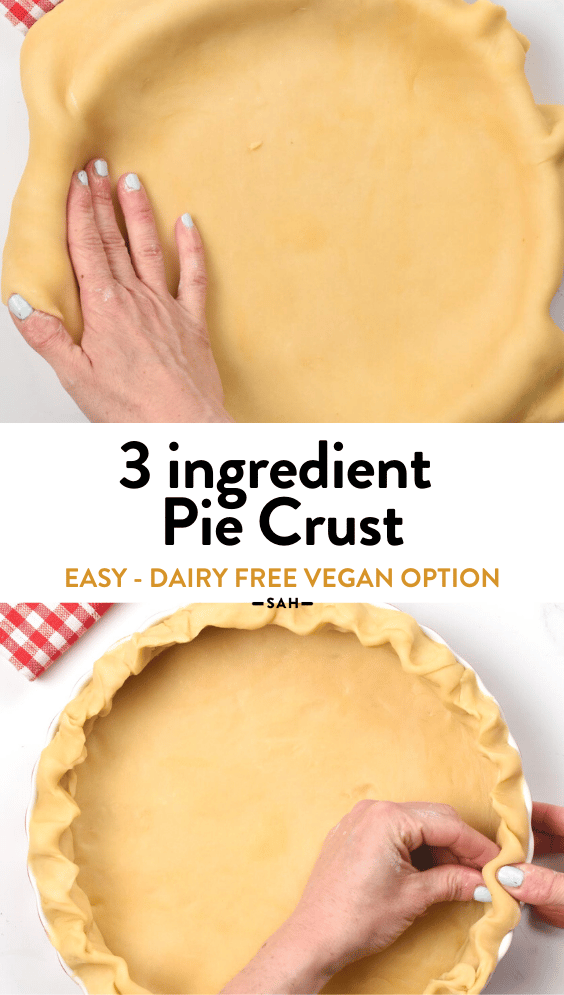
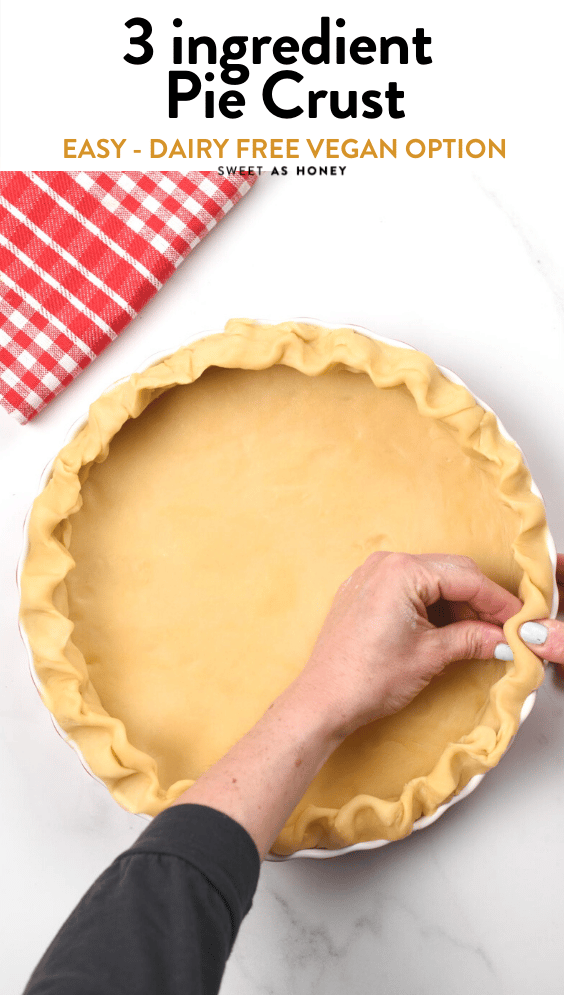
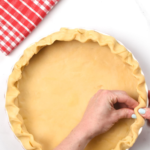
- You can flute the edges with your fingers or use a fork to shape them. Use a fork to prick the crust all over its bottom.
Prebaking The Crust
Not all pie recipes call for prebaking the pie crust, but if it’s required this is how you should proceed. Top the rolled pie crust with pie weight or dry beans and place in the center rack of the preheated oven.
- Cold Fillings – Fully bake the crust for a cold filling that doesn’t require any baking time. It takes about 20 minutes to fully bake the crust.
- Warm Fillings like quiche – Blind the crust, it means cook only until it’s golden and pale in color, for about 12-15 minutes. Follow the instruction below for the additional cooking with the filling.
Filling The Pie Shell
- Remove the pie crust from the oven and cool it down in the pie dish before adding any cold filling like custard or fruits.
- You can transfer the pie crust safely to a cooling rack after 10 minutes.
- If you are using this 3-ingredient pie crust recipe for a quiche or pumpkin pie or any pies that require the filling to be baked, don’t cool down the crust.
- Immediately spread the mixture evenly over the pre-baked crust.
- Return to the oven until the filling is baked. You can tent the pie with foil to prevent the sides of the pie crust from browning too fast.
You can use this 3-Ingredient Pie Crust as a butter pie crust or flaky pie crust for:
- Homemade Quiche like Florentine quiche, Spinach Quiche
- Pumpkin Pie
- Lemon Pie
- Blueberry Pie
- Apple Pie
- Cream Pie
Storage Instructions
You can freeze a pre-baked pie crust in the freezer for up to 3 months and use frozen to make a quiche. You can also store the pie crust, unbaked for up to 1 week in the fridge.
Frequently Asked Questions
Yes, this recipe works very well with dairy-free butter or margarine.
Yes, add 1 to 2 tablespoons of sugar or 1.2 teaspoons of vanilla extract if you want to add a sweet flavor to this classic pie crust.
I find that pie crusts are always better with butter. Not only does this pie recipe taste better with butter, but it’s also flakier and easier to work with.
It’s possible to use lard, but it makes a very flaky crust with lard. To the point that it’s almost too flaky so my preferred option is butter.
More Healthy Crust Recipes
Below I listed some other crust recipes you may want to try:
Did You Like This Recipe?
Leave a comment below or head to our Facebook page for tips, our Instagram page for inspiration, our Pinterest for saving recipes, and Flipboard to get all the new ones!
3-Ingredient Pie Crust
Ingredients
- 2 ½ cups All-Purpose Flour
- ⅔ cup Butter cold, straight out of the fridge
- 6-8 tablespoons Iced Water
Optional
- 1 tablespoon Sugar for sweet pies
- 1 teaspoon Salt for savory pies
Instructions
- This recipe makes 2 thin 9-inch pie crusts or for a thicker crust, use the entire recipe into a 10-inch pie.
- In a small bowl, add ice cubes and cold tap water – this is your iced water, and you will scoop the water from that bowl in the next steps. Set aside.
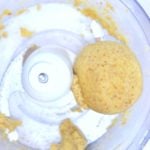
- In a food processor, add flour and cold butter and pulse until pea-size butter pieces form. If using a mixing bowl, add flour and use two forks or a pastry cutter to break the cold butter into the flour.
- Blend on medium speed and gradually add iced water, scooping tablespoons from the bowl you prepared in step 2.
- Add cold water until it forms a dough ball that is soft and comes together.
- Divide into 2 even balls and wrap each into plastic wrap. Flatten into a thick disc and refrigerate for at least 30 minutes to overnight.
- Remove from the fridge. If it stays more than an hour in the fridge, the dough is hard. Wait 1 hour to soften before rolling.
- Preheat the oven to 350°F (180°C). Grease a 10-inch (26cm) pie plate with oil or butter. Set aside.
- Slightly flour a work surface, unwrap the dough and place it in front of you on the floured surface. Sprinkle and rub extra flour on top of the dough.
- Using a roller pin, roll the dough by pressing from the center to the edges until it forms a 12-inch circle.
- Place the rolled dough onto the grease pie plate and flute the edges – see the picture above for visual help.
- Prick the crust bottom with a fork and place pie weights or dry beans all over the bottom.
- Pre-bake the crust for 15 minutes before adding any warm filling like quiche or pumpkin pie filling.
- For cold fillings, fully bake the crust for 25 minutes or until golden brown.
Storage
- Store the prepared dough, unbaked, wrapped in plastic wrap in the fridge for up to 3 days. Place 1 hour at room temperature to soften before rolling.
- Freeze extra dough and thaw in the fridge the day before.
Want My Kitchen Equipment?
Nutrition
Disclaimer
The recipes, instructions, and articles on this website should not be taken or used as medical advice. The nutritional data provided on Sweetashoney is to be used as indicative only. The nutrition data is calculated using WP Recipe Maker. Net Carbs is calculated by removing the fiber and some sweeteners from the total Carbohydrates.
You should always calculate the nutritional data yourself instead of relying on Sweetashoney's data. Sweetashoney and its recipes and articles are not intended to cure, prevent, diagnose, or treat any disease. Sweetashoney cannot be liable for adverse reactions or any other outcome resulting from the use of recipes or advice found on the Website.


Share this post!
If you enjoyed this post, share it with your close ones!
Leave a comment